Construction week 49: 2 weeks until occupancy

In order for us to move in, we need to obtain an occupancy permit from the city. This does not mean our house will be complete, but means it has all the necessary mod cons for us to occupy it safely. We’re prioritizing tasks that will get us to occupancy. We will have toilets, for instance, but no Interior doors. 

Here's the roundup from week 49.

Deck
The deck platform and stairs are finished, with the exception of the final stairs to ground level. We need our final grading to be completed first, which should bring our number of stairs down to 2 instead of 4. We also need some railings. These will most likely be temporary railings, to get us to occupancy.

Looking down from the roof deck

Looking down from the roof deck

Railings still to come

Railings still to come

ottawa-canada-architect-passive-house

Tile
Benjamin was at the house and finished laying the tile in our bathroom. It was a lot of tile, extending all the way to the ceiling (which will get the special wood-treatment soon). It’s quite dramatic.

In progress

In progress

Countertops
Our island counter was installed. And quickly covered as to not incur damage. We chose Caesarstone because it's zero-maintenance.

Caesarstone in Concrete colour option

Caesarstone in Concrete colour option

Electrical
We have lights! Now there’s no excuse for us not to work late. Most of our fixtures are in. Minus a few feature lights. Thank you Yves, and sorry for choosing pot lights that tore up your hands during the install :(

The best tip we received for lighting was to consider what you want to light. With stairs, for example, it's important that the stairs are lit, so you can see where to put your foot, and not the entire stair well. And with general room lighting, it's the walls that need defining, so direct your lights towards the walls and not the middle of the room.

Stairs are beautifully lit

Stairs are beautifully lit

Look Ma, no pendants!

Look Ma, no pendants!

Plumbing
We have a toilet in the house! This is majorly exciting for me. I don’t have to use the porta-pottie when I’m working on site anymore! And we can finally get that thing removed. The remaining fixtures will be installed this week.

This little throne I call my own, I aim to keep it neat. So darn your soul, pee down the hole, and not upon the seat. ~ classic outhouse quotes

This little throne I call my own, I aim to keep it neat. So darn your soul, pee down the hole, and not upon the seat. ~ classic outhouse quotes

Vanities
Mark assembled and mounted our bathroom vanities. We opted for Ikea vanities. We went through multiple explorations, trying to find an alternative, but just couldn’t stomach the associated costs. We almost pulled the trigger on a custom bent metal vanity that we designed, but in the end, it left us with too many unknowns (and no drawers). In our bathroom, we have an Ikea base that we’re pairing with a Caesarstone counter and Toto vessel sink. It will be partially custom, in this case. It will look great, but I really wish that Ikea made a 1 drawer depth vanity. I prefer the proportions, but am sure the extra drawer will be put to good use.

Ceiling
Mark and I had this crazy idea that our sloped ceiling would look fantastic if it were clad in wood. It seemed like a good idea at the time. And I’m sure it will become a good idea again, after all is said-and-done. But now? It’s a lot of effort. 

The order of things is a follows:

Step 1: lay plywood
Step 2: level and strap ceiling
Step 3: paint everything black
Step 4: install lighting tracks
Step 5: oil and stain ash planks
Step 6: mount ash on strapping
Step 7: admire hardwork 

Graham and Sebastian helped to progress the ceiling over the weekend. Finishing off the strapping in our bedroom and bathroom. They moved on to the main space, over the void, and set up what they nicknamed ‘the death trap’ – a precarious platform to help them reach across the 2-story open space (aka. void) that exists in the middle of the house. It isn’t actually as precarious as the name makes it sound. The hope is that they finish the strapping tomorrow, leaving the death trap setup for Mark or I to paint everything black. Yay. 

It really will look fantastic…

Inspiration photo — our ceiling should look something like it

Inspiration photo — our ceiling should look something like it

I see a ceiling and I want it painted black

I see a ceiling and I want it painted black

The so-called 'death trap' or 'widow-maker' spanning the void 20' up

The so-called 'death trap' or 'widow-maker' spanning the void 20' up

Landscaping
We’re working on a landscape plan with Rebecca James, an architectural technologist with a horticulture degree. Landscape design doesn’t pay the bills, so she does it on the side of her regular 9-5. Because she loves it. My kind of girl. We’re happy with what’s she’s shown us so far. 100% we won’t have landscaping for occupancy, nor this year for that matter, but we want to set up the design now, so we know what we’re working towards in the future. I wish it could all happen RIGHT NOW!!!!

Project management
On the project management side of things, we’re hoping to finish electrical and plumbing this upcoming week so we can go for our next construction mortgage withdraw. In the meantime, we’re racking up lots of travel points on our credit cards. One of these days we’ll want to leave Ottawa and our new house, so those points will come in handy. One of these days...

Our heads are down and we're ticking tasks off our lists faster than new ones are getting added. It's looking promising *knock on wood* for us to make the occupancy call on Aug. 23rd. My mom is visiting from Vancouver this week and has taken our kids to a cottage. I got to spend the whole weekend working on site, And will have my evenings to contribute this upcoming week too. Miss the kids like crazy, but won’t have much time to do so. Lots of site tidy-up and painting on my plate. And getting ready to move. Hopefully for the last time.

Construction weeks 37 & 38: electrical rough-ins and drywall

Drywall is getting hung, son!

Drywall is getting hung, son!

Mark is full-time at the house these days, including weekends, and it will likely continue this way until move in. I’m pulling double-duty with the rest of life, so all I can muster today is a point-form update. Words, sentences and all the things are feeling difficult. Please forgive me.

  • Mark finished running the flex ducting throughout the house.
  • Graham and Sebastian continue to install siding. And continue to do an outstanding job of it.
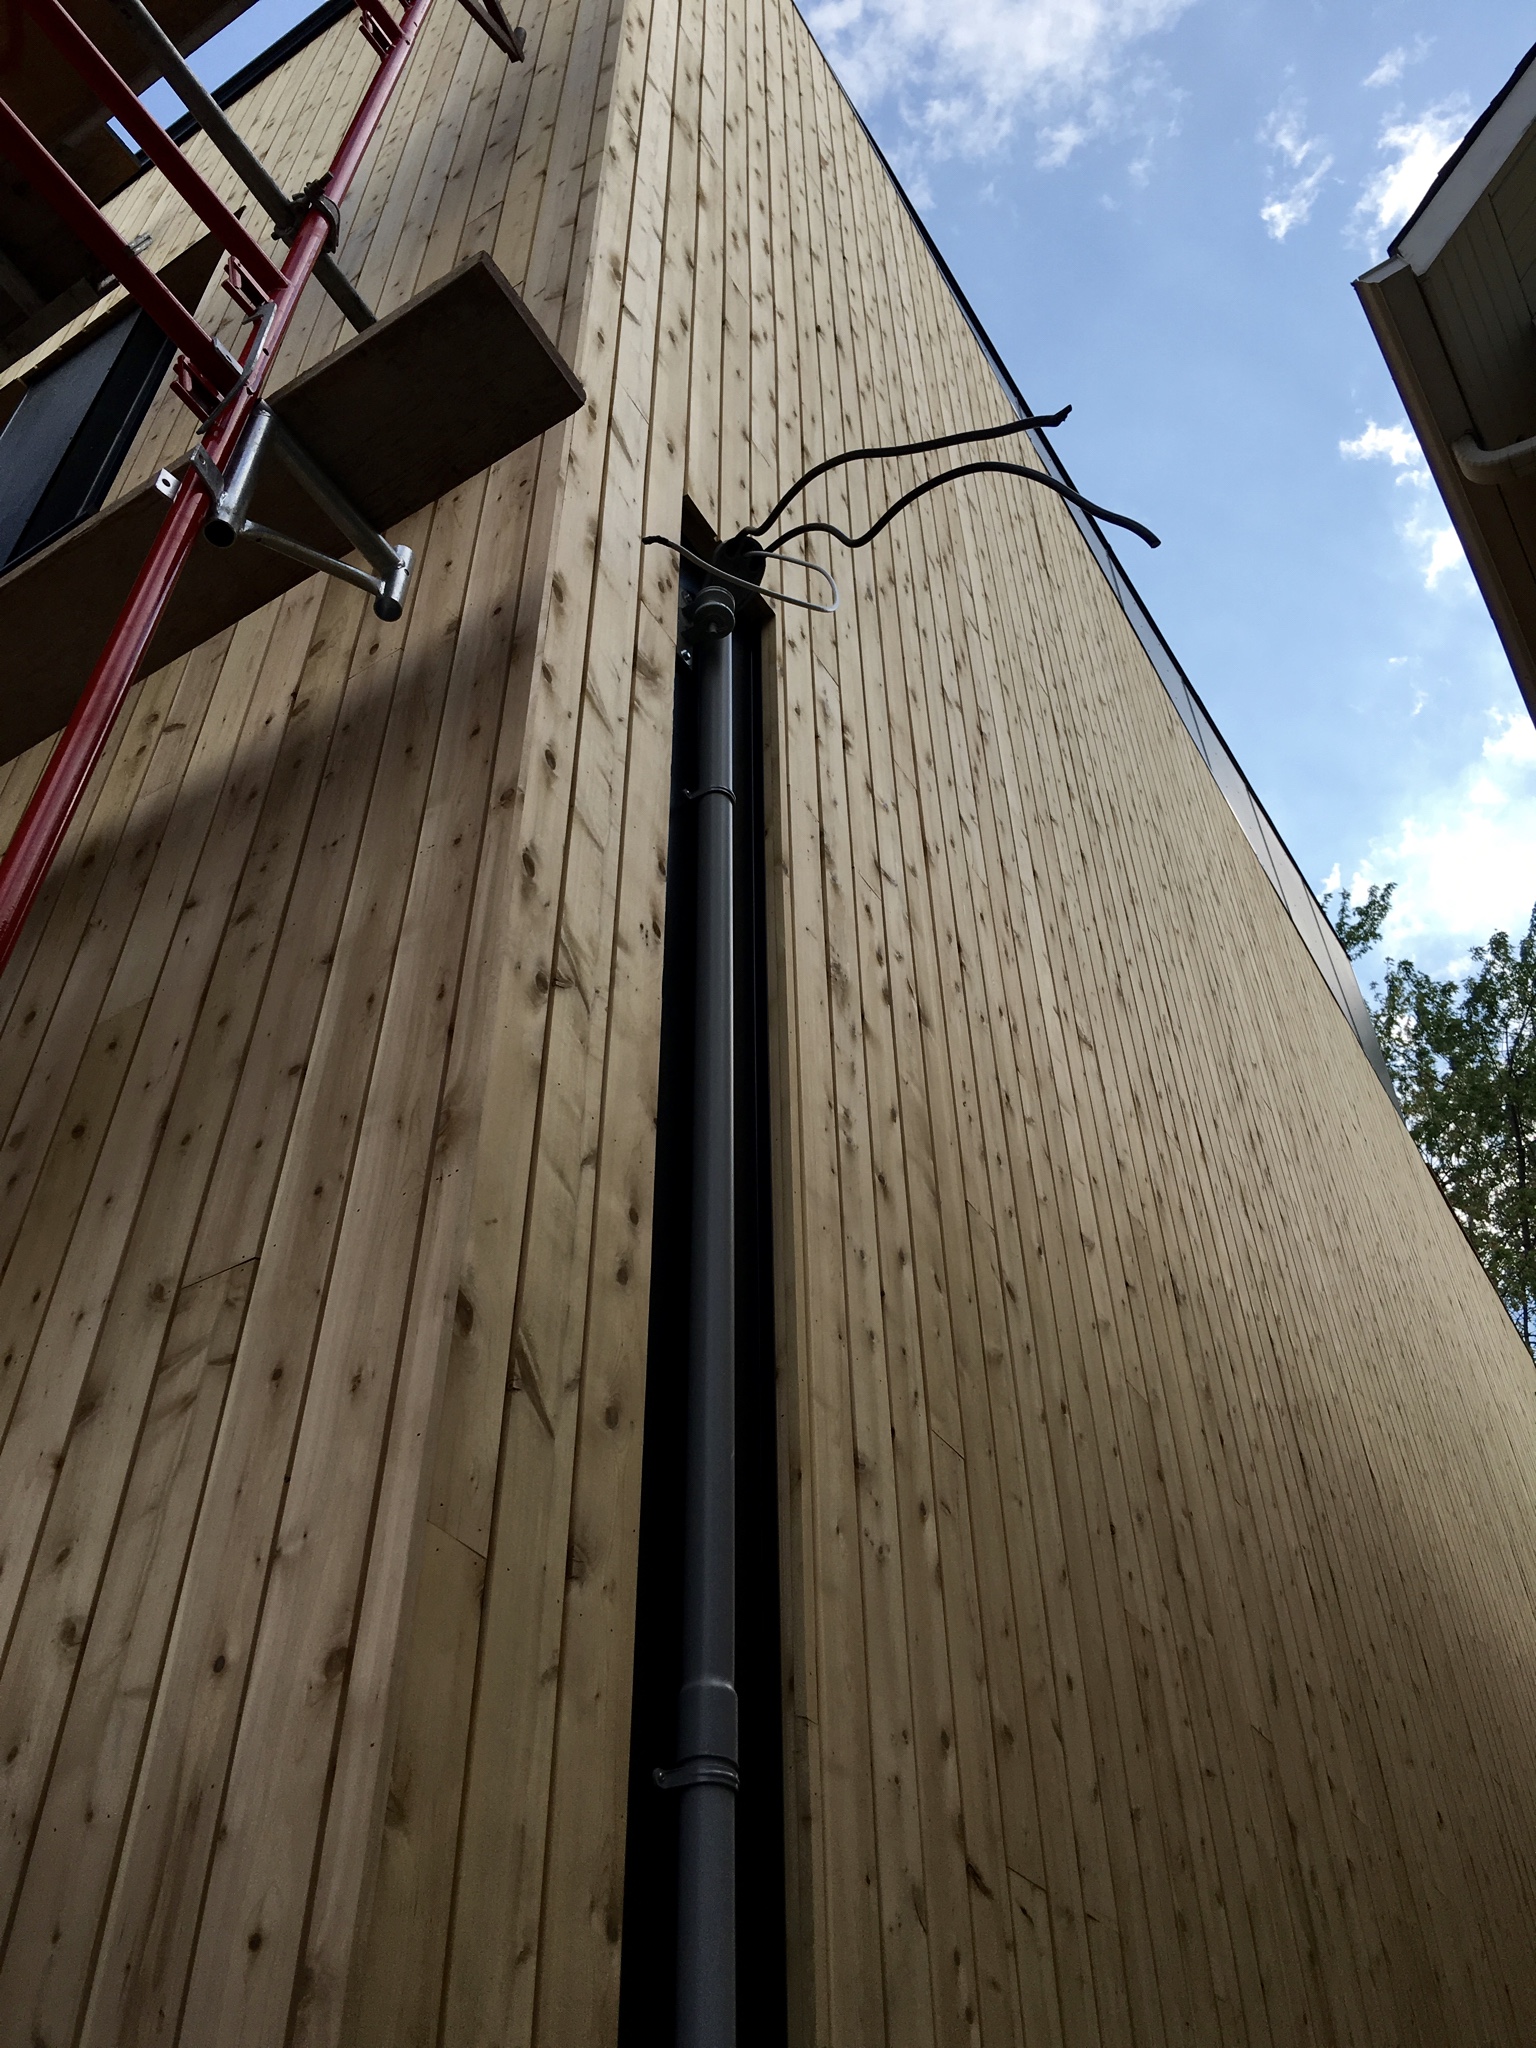
  • Yves, started and finished all the electrical rough-ins. Since he has a stellar reputation with the ESA (Electrical Service Authority), we quickly passed the inspection over email.
  • Prepared for drywalling, with the help of Brian Rosen, Gary and Alex Sharp.
    • Carried 40 sheets of 12’ long drywall boards up stairs and between rooms.
    • Moved and re-installed our construction stairs away from the wall so the drywall could run past.
    • Since the house is going to be so quiet (outside noises disappear with our thick walls), that means we’ll be extra sensitive to any inside noises. To counter this, we've taken a couple additional steps.
      • Installed resilient channels on ceilings. These are metal strips that the drywall gets screwed into. They reduce foot step noise from floors above by reducing the contact surface area between the drywall and wood structure.
      • Added extra Roxul to our ceilings to further buffer any sound between floors.
  • Started hanging drywall! Ceilings throughout the house and the girl’ bedrooms are finished.
  • Added structural blocking for our floating stairs — the top two staircases. Some extra structure was added between existing studs to anchor the metal brackets that will hold the treads.
  • Ordered custom metal for the interior of the house. Including a metal screen, which will support the other end of the stair treads, and our bridge that spans the open space over the dining room. Both will be powder-coated white.
    • The metal screen will span the height of the main space and frame the stair cases. As you wander through the house, it offers glimpses of the void and of our tall vertical window flanking the opposite side. We’ll hang pants off the screen, and transform it into a bit of a greenwall to breathe more life into the main space.
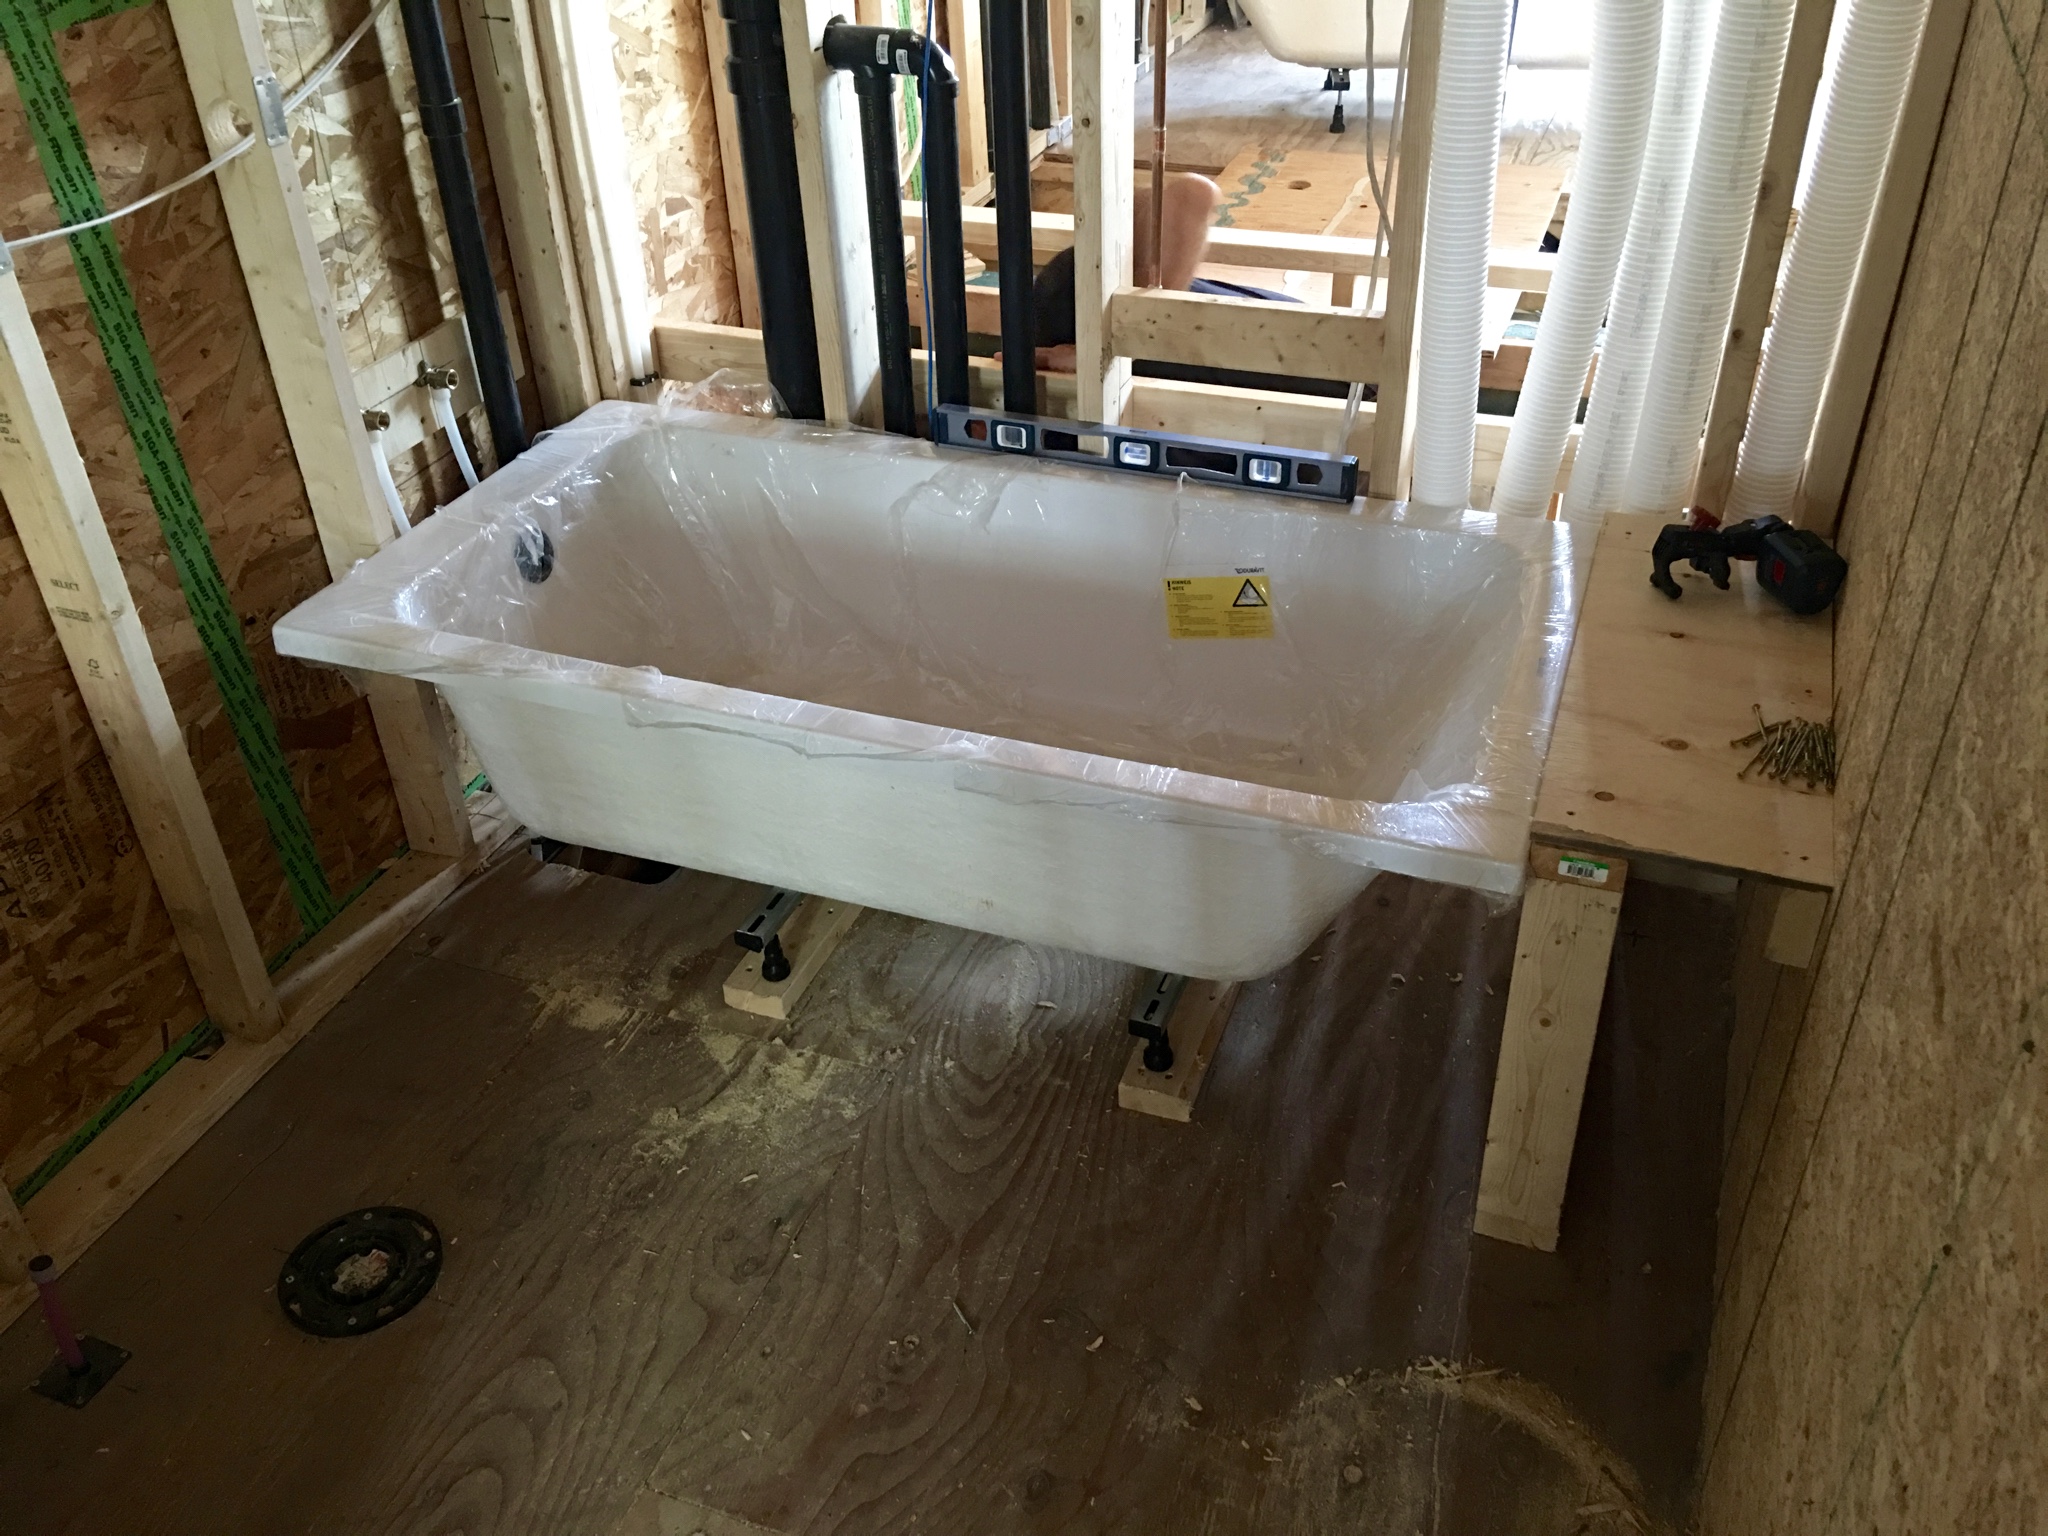
  • Nathan installed 1 of 2 bathtubs. The master bath is going to be a tricky one. The space is tight and looks like we may have been sent an incorrect part.
  • Mark ran another air test to the same result of 0.4 air changes per hour. He was hoping to improve upon our last result having filled some known gaps. But with new gaps made for electrical and plumbing, even though there were properly sealed, they may have balanced each other out. Or it might be the OSB that’s ‘leaky’ — it is a construction grade material after all, so at this level of tightness, maybe it just doesn’t stand up 100%. We’re hopeful that after drywall, our result may improve. However, Mark’s not holding his breath. He warned me that even though, in a typical build, an air-test post-drywall can improve 20–30%, it’s unlikely our will because we’re already dealing with such small numbers, and there’s little room for such impressive movement. Still keeping our fingers crossed.

That’s the gist of it. We’re managing many moving parts at the moment, but it’s finally starting to feel like we’re getting close to the home-stretch. The building inspector won’t be returning until it’s final occupancy time. Mostly finishing from here on out.

One more thing before my head hits the pillow: don’t miss Mark’s virtual tour this upcoming Thursday. We’ll post the video on the blog afterwards, in case you miss it. Oh, and check out the photos below.

Drywall on the ceilings.

Drywall on the ceilings.

First board goes up.

First board goes up.

Flex ducting complete.

Flex ducting complete.

Kids bathtub (concreted added beneath the tub since this photo was taken).

Kids bathtub (concreted added beneath the tub since this photo was taken).

Marvelous Eastern white cedar.

Marvelous Eastern white cedar.

Hardie board too.

Hardie board too.

Window sill details.

Window sill details.

The roof!

The roof!

Quick screen grab I got Mark to take of his Sketch-up model to show the stair screen and the bridge that floats in front. 

Quick screen grab I got Mark to take of his Sketch-up model to show the stair screen and the bridge that floats in front. 

Construction week 32 — plumbing and ventilation runs

First family picnic on our rooftop patio. Shared it with some friendly pigeons who decided our new home was also their new home.

First family picnic on our rooftop patio. Shared it with some friendly pigeons who decided our new home was also their new home.

Hope you enjoyed last week’s videos. I sure did. Gave me a break from writing. Writer, I am not. Here goes again:

It’s been a couple weeks since my last construction update. We sent the Cornelis Grey crew away last week. We’ll be bringing them back in a few weeks, once we have more work for them. In the meantime, our plumber Nathan from Ackland plumbing, has begun his rough-in work. He's installing a manifold system? It's cool, or so I am told. And Mark, as you may have seen via Periscope, has begun our ventilation layout.

We walked through the house with our electrician, Yves from Portage Electric, to get a feel for our electrical plan in real life. Wow. When you’re lucky enough to be in a position to decide where to put a switch, and what turns on what, you realize what great ‘power’ you have. And what a massive effect the electrical details potentially have on the user experience and enjoyment of a space. It would really suck to be searching around for a switch that was un-intuitively placed. Or if an unsightly 6-switch was in the middle of a feature wall. What makes sense on paper does not always translate when you’re physically walking through a space.

It also forced us to consider what sort of ‘smart’ lighting/electrical systems we might want to consider. I love the idea of walking into a space and having the lights automagically turn themselves on. Imagine no wall switches? Or lights that learn our behaviour. Will these technologies date our house vs. a tried-and-true analog wall switch? As a happy, budget-friendly medium, we’re looking into Lutron’s Caséta system

And do we need “cat 5” cable for our internet? If we want to watch Netflix really really fast? I was under the assumption that regular ol’ wifi would suffice for our entire home, but now that the question has been raised, do I want it? Do I need “cat 6” to future-proof? Our neighbours building up the street included some empty PVC pipe behind their walls, for easy wiring access, should they require something they forgot or doesn’t exist yet. I’m going to lean towards less wires = good, whether or not that’s proves to be true. Time will tell.

There are a lot of moving parts that need to come together over the next few weeks, starting with the plumbing, which will carry on for much of this week. Then ventilation followed by electrical. Yves helped us to understand that his job becomes much simpler if he can reuse or follow some of the previous installs. The bigs rocks go in first, then it's easier to fill the gaps with the sand. Or something like that...Once those inside jobs are all finished, we get to cover up those walls with drywall. We’re flying Mark’s brother in from Nelson BC to help us out with the drywalling. He’s a pro, and a Rosen, so it’s bound to be good :) Only 3 weeks away!

We're still placing orders and making decisions on the back-end. We are so frustratingly close to ordering our kitchen. There have been quite a few back-and-forths to nail it down. All of our siding material has been ordered and work is set to begin next week. Really looking forward to that getting under way. 

Mark’s sporadically giving tours of the house to various groups. He loves doing them, even though it’s a time-suck. We’ll be setting up another public tour some time in the next couple weeks, likely on a weekend. You’ll be able to see what’s running through our walls before we cover them up. We will post the time and date later this week.

One last thing: it’s spring! With the warmer weather, it now feels relatively cooler when I walk inside the house. Neat-o. Same principles apply to cool our house as it does to heat it. We enjoyed our first picnic of the season out on our rooftop deck. Fealt great.

A tour of students from Algonquin College studying architectural technology. And a view of our messy post-winter construction front yard.

A tour of students from Algonquin College studying architectural technology. And a view of our messy post-winter construction front yard.

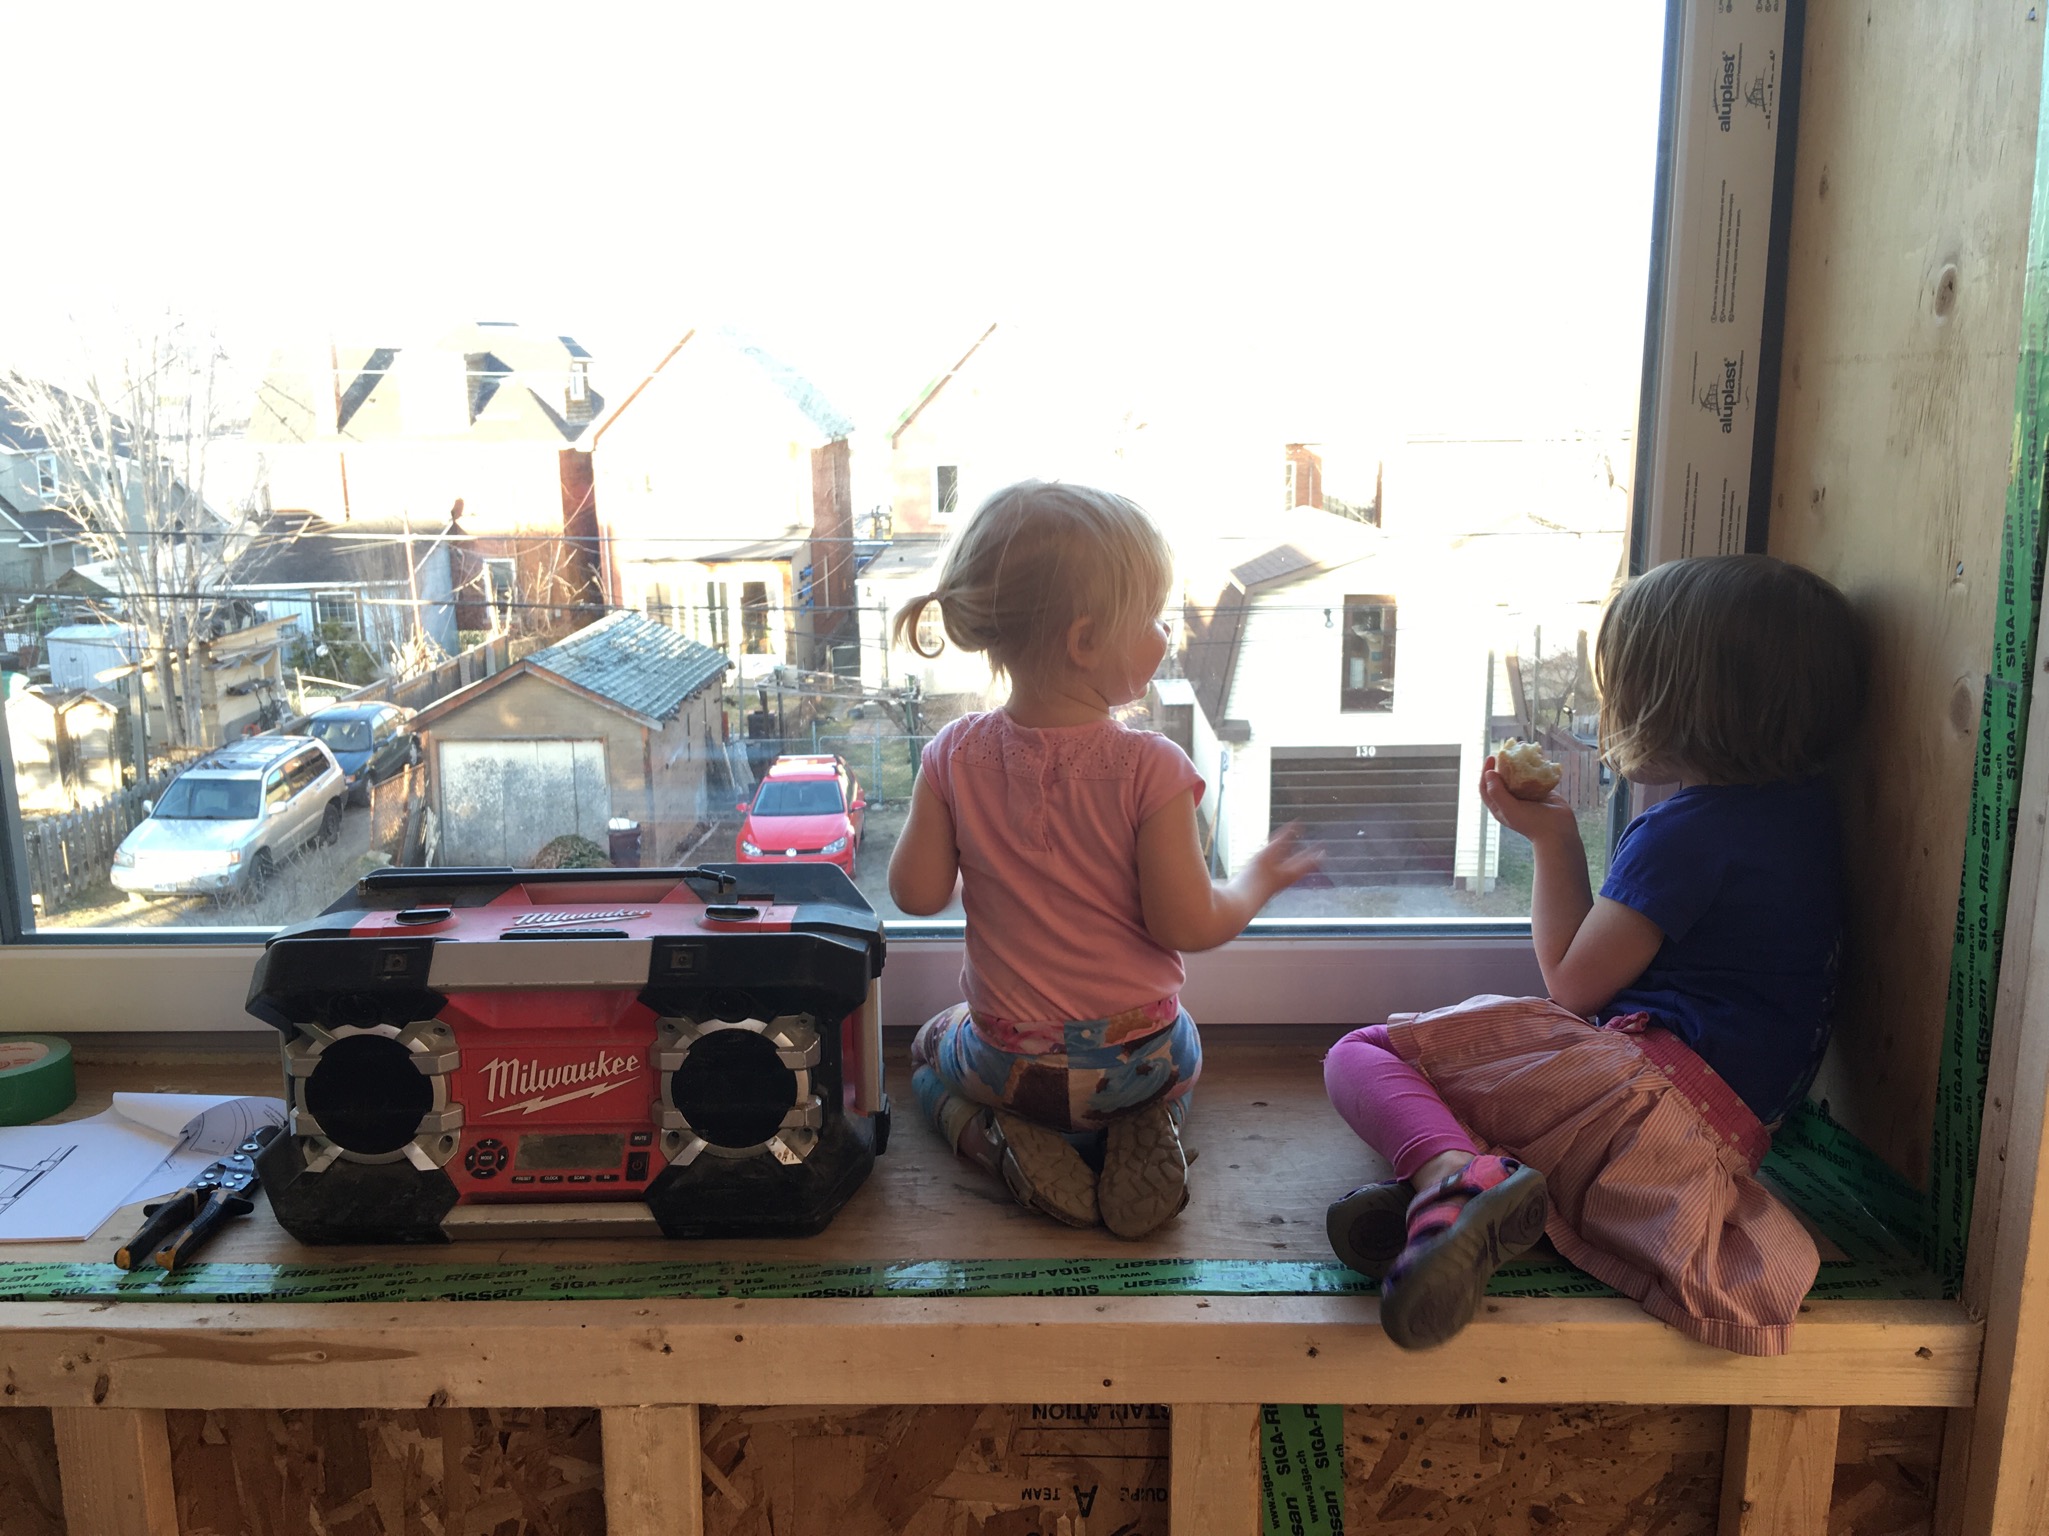
My wee ones staring out the sitting window #milwaukee

My wee ones staring out the sitting window #milwaukee

Passive House Appliances

Exciting times – appliance showrooms

Exciting times – appliance showrooms

Choosing our Passive House appliances was no simple task. Our decisions we were largely garnered by a couple very important Passive House principles, in addition to the normal stuff you’d look for in an appliance: cost, performance, reliability, aesthetics, noise level, etc.

1. Low energy use

We have to ensure that our house’s energy demands are under a certain value in order to meet the Passive House standard. We calculate this with the help of the energy modeling software, which requires many different input values. Some, of which, are the EnerGuide ratings for our appliances. They tell you the annual energy consumption of the model in kilowatt hours. The EnergyStar program publishes a ‘most efficient’ list every year, which is a good place to start looking.

http://www.nrcan.gc.ca/energy/products/energystar/why-buy/13612
https://www.energystar.gov/products/energy_star_most_efficient

2. No external ducting

Here’s where our list of options gets dramatically reduced. With our house, we are not venting to the outside (heaven forbid we penetrate the air barrier). As a result, we must find recirculating options for appliances that otherwise would (vent to the outside), such as the range hood ventilator and our clothes dryer. Oh, and since we have no external ventilation, this precludes us from considering a gas cooktop because open flames without external ventilation is a ‘no-no’ for building code.

At first these may sound like Passive House trade-offs, but in fact, Mark and I are seeing them more as ‘trade-ups’. Because why would you want to throw all that warm air (aka. Heat, aka. Energy) out of the house when you could recycle it and feed the energy needs of our house from within rather than pull from the grid? I sure wouldn’t.

With that in mind, here’s what we decided to go with:

Dryer

Whirlpool 7.3 cu ft. HybridCare™ Ventless Duet® Dryer with Heat Pump Technology

The most efficient dryer on the market also happens to use ventless heat pump technology. The same heat pump technology that operates our domestic hot water tank. Bam.

Washer

We’re simply getting the matching Whirlpool washing machine.

Dishwasher

Bosch 500 series - SHP65T52UC

Bosch dishwashers also use heat pump technology, making them pretty darn efficient. This one is whisper quiet, which we like, especially considering our main floor is rather open-plan.

Cooktop

Bosch 500 Series 30” Induction Cooktop

We are so excited that induction technology has made it to the consumer world! There are so many great things to say about induction. It uses magnetic conduction, which is instant, consistent, precise and significantly more energy-efficient than ol’ thermal conducting cooktops (gas and electric) which throw away much of the heat they produce. And best of all, you can put your hand on the burner immediately after taking the pot away. Who hasn’t wanted to do that before?! Well now you can.

Wall oven

Whirlpool convection 30” white - WOS 92EC0AS

Ventilation

Best Cattura Downdraft 30” - D49M30SB

This was by far our most complicated appliance to figure out. Our cooktop is in the island — we like to cook and be part of the action. We have a very large, very beautiful window spanning the length of our kitchen. The last thing we wanted to do was to put a space-aged, over-the-island range hood hanging down from the ceiling, disrupting our lines and views out the window. In order to avoid this, we needed to find a downdraft ventilator — one that sits in the island itself — with a recirculating kit.

Downdraft ventilators are widely regarded as inferior to mounted-above styles because they aren’t able to catch as much of the steam, smoke, and heat, that naturally rises. Even though downdrafts are not quite as effective at removing air, this is less of an issue for us thanks to our induction cooktop. A gas cooktop uses combustion to heat, a natural byproduct of which is smoke (which is why you’re required to vent to the outside with a gas cooktop). With induction, smoke and other pollutants are only a byproduct of forgetting the pot of boiling pasta on the stove too long, which reduces the number of contaminants our blower has to extract from the air. For the most part, our ventilator will only have to remove steam and smells. Any pollutants will be cleared, prior to recirculation, with a charcoal filter.

There are several companies that make these downdraft ventilators, with recirculation kits, that actually pop-up out of the counter to heights as high as 18”. They are all luxury brands. I’ve had a hard time coming to terms with the fact that our downdraft vent, which is inferior to overhead vents, was going to cost as much as the cooktop and wall oven combined. This is one case where design has trumped all other options.

On the ‘up’ side, however, we can take advantage of the recirculated air and improve the overall experience of working in our kitchen. How, you ask?

We will be mounting the fan blower and charcoal filter in our mechanical room, effectively removing any noise from the kitchen itself. No more shouting over a noisy fan motor. And by moving the warm cooking air into the mechanical room, we will be augmenting the energy source for our domestic hot water heater. Our domestic hot water tank is a heat pump model, which pulls heat in from the surrounding air through a compressor and into our water. The surrounding air (in our mechanical room) becomes slightly cooler as a result. Our downdraft air supply will help make-up some of that heat lost to the hot water tank, and reduce our requirement to pull from the grid.

Make sense? I’m not surprised if it doesn’t. I’ll be posting a video of Mark explaining this to me with helpful diagrams likely tomorrow....

So there you have it. Some big decisions made. Each decision turns out to be more of an ordeal then at first glance. I know more about dishwashers now than I ever thought I needed to know. But I'm glad I took the time to do the research and understand. As we are doing with every aspect of our build.

I should also note that we purchased a Consumer Reports Online subscription for the duration of the build to help us with some of our research. It’s been most helpful so far in choosing our appliances. http://www.consumerreports.org/