Green Energy Doors Open — Sept 10th and 11th

ottawa-green-energy-doors-open-passive-house

We are participating in this years Green Energy Doors Open, taking place over the weekend of September 10th and 11th. This is a great chance to get out and see some Passive House builds near Ottawa! Not just ours. There are 7 with their doors open. Including a multi-unit community housing project on the CCOC bike tour and the Chelsea Passive House that plotnonplot designed, both of which Mark acted as Passive House advisor. If you're interested in Passive House, and building science, it's a great opportunity to see the various approaches and talk to the people who built them. RMA Architects also has its office doors open, where you can see some cross-laminated timber (CLT) in use.

Our house will be open for touring Sat afternoon and all day Sunday. 

http://www.ottawagedo.org/

Construction weeks 26 & 27: windows and air barrier

gaulhofer-lift-and-slide

We have windows! The Hermann’s installed those that could be man-handled and lifted into place by hand on week one, and the remainder on week two with the help of a crane.

Getting the house sealed in and weather proofed is holding us back at this point so it feels good to have them in place. And damn they’re fine. Feels like a legit house now. It’s a thing of beauty.

The crew also finished off the wall cavity insulation and started installing the air barrier, which is a layer of OSB (oriented strand board -- comes in sheets like plywood) that gets taped at all the seams with a special Siga membrane tape.

And some photos:

Window delivery

Window delivery

Our glass

Our glass

Mark and Andreas trying to give high 5s while holding up a 2000 lb window in place

Mark and Andreas trying to give high 5s while holding up a 2000 lb window in place

The thickness of our triple-pane kitchen window. NO backyard baseball games.

The thickness of our triple-pane kitchen window. NO backyard baseball games.

Kitchen window install -- Justin and Andreas

Kitchen window install -- Justin and Andreas

Rear elevation avec les windows

Rear elevation avec les windows

Front elevation with temporary door

Front elevation with temporary door

The loft window lift-and-slide

The loft window lift-and-slide

What else of news?

There have been some headaches around getting our second construction mortgage withdraw because our unconventional build is being treated as conventional. We hope things have been ironed out, but have yet to receive the monies in our bank. This is a longer blog post for another time. Argh.

Now our shell is 95% complete. There are still a few items outstanding:

  • our attic and flat roof need insulating (blown-in cellulose)

  • some wood fibreboard is missing on the outside (because of how the walls were lifted)

  • some weather-proof taping to be done on the seams of the wood fibre board

We need to start making decisions ASAP on a lot of things. Our kitchen will need 10–12 weeks at the factory, which means we are already behind the 8-ball. Our lighting and plumbing fixtures need sorting too. We have yet to make these decisions and already decision fatigue has set in.

If I’ve made light of building a home, in any way, you have been misguided. It’s not for the weak of heart or will. One the one hand, I’m ecstatic to see our home coming together and to reach these huge milestones. One the other, there is still so much to do. It’s a massive source of stress. In some ways though, it feels like the homestretch (before the homestretch). And when I walk into our home, I am in complete awe. I love it so much, which definitely helps to ease the stress. Looking forward to ticking some key decisions off the list.


Construction week 20: 3rd floor framing

There's snow in the house. We always liked the idea of bringing the outside - in. But this is taking it too far. Wah-wah.

There's snow in the house. We always liked the idea of bringing the outside - in. But this is taking it too far. Wah-wah.

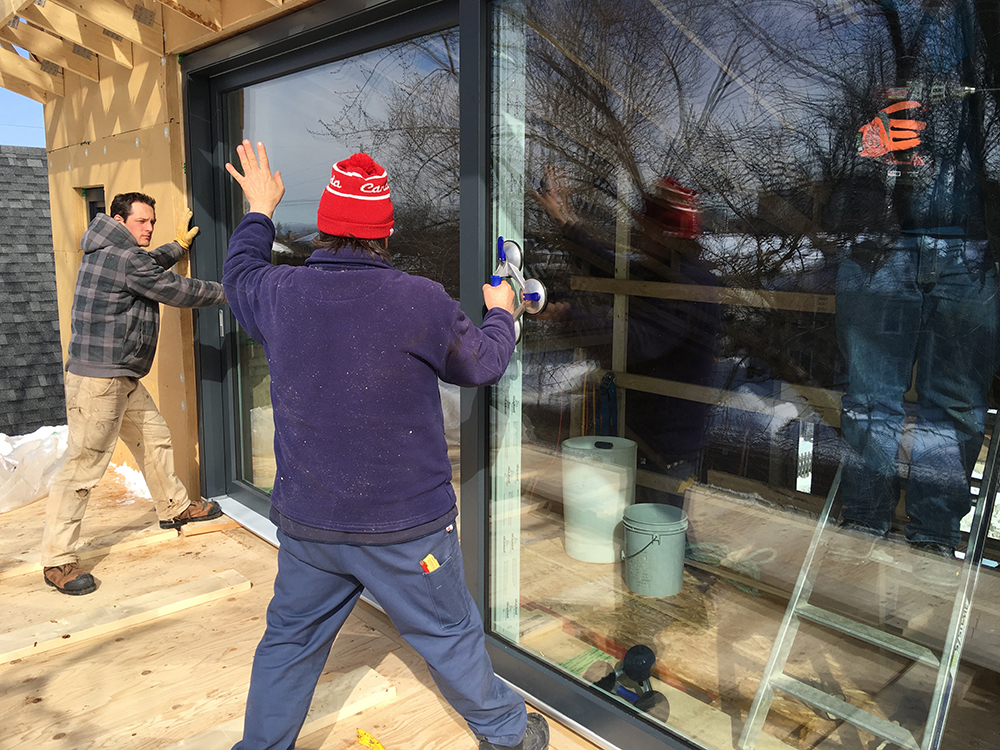
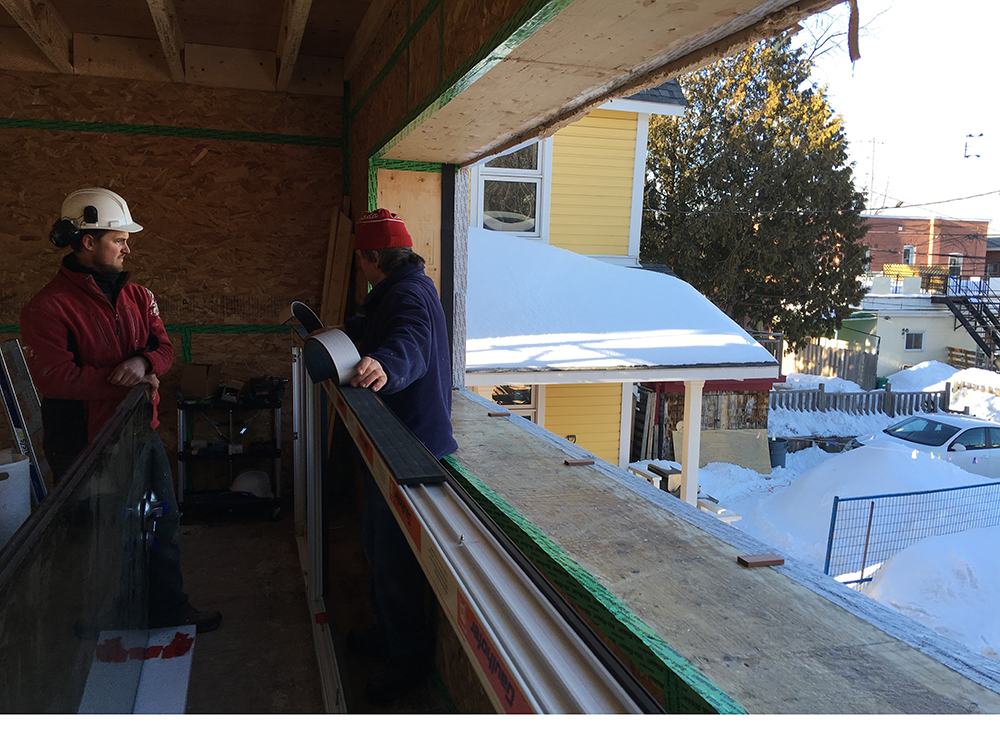
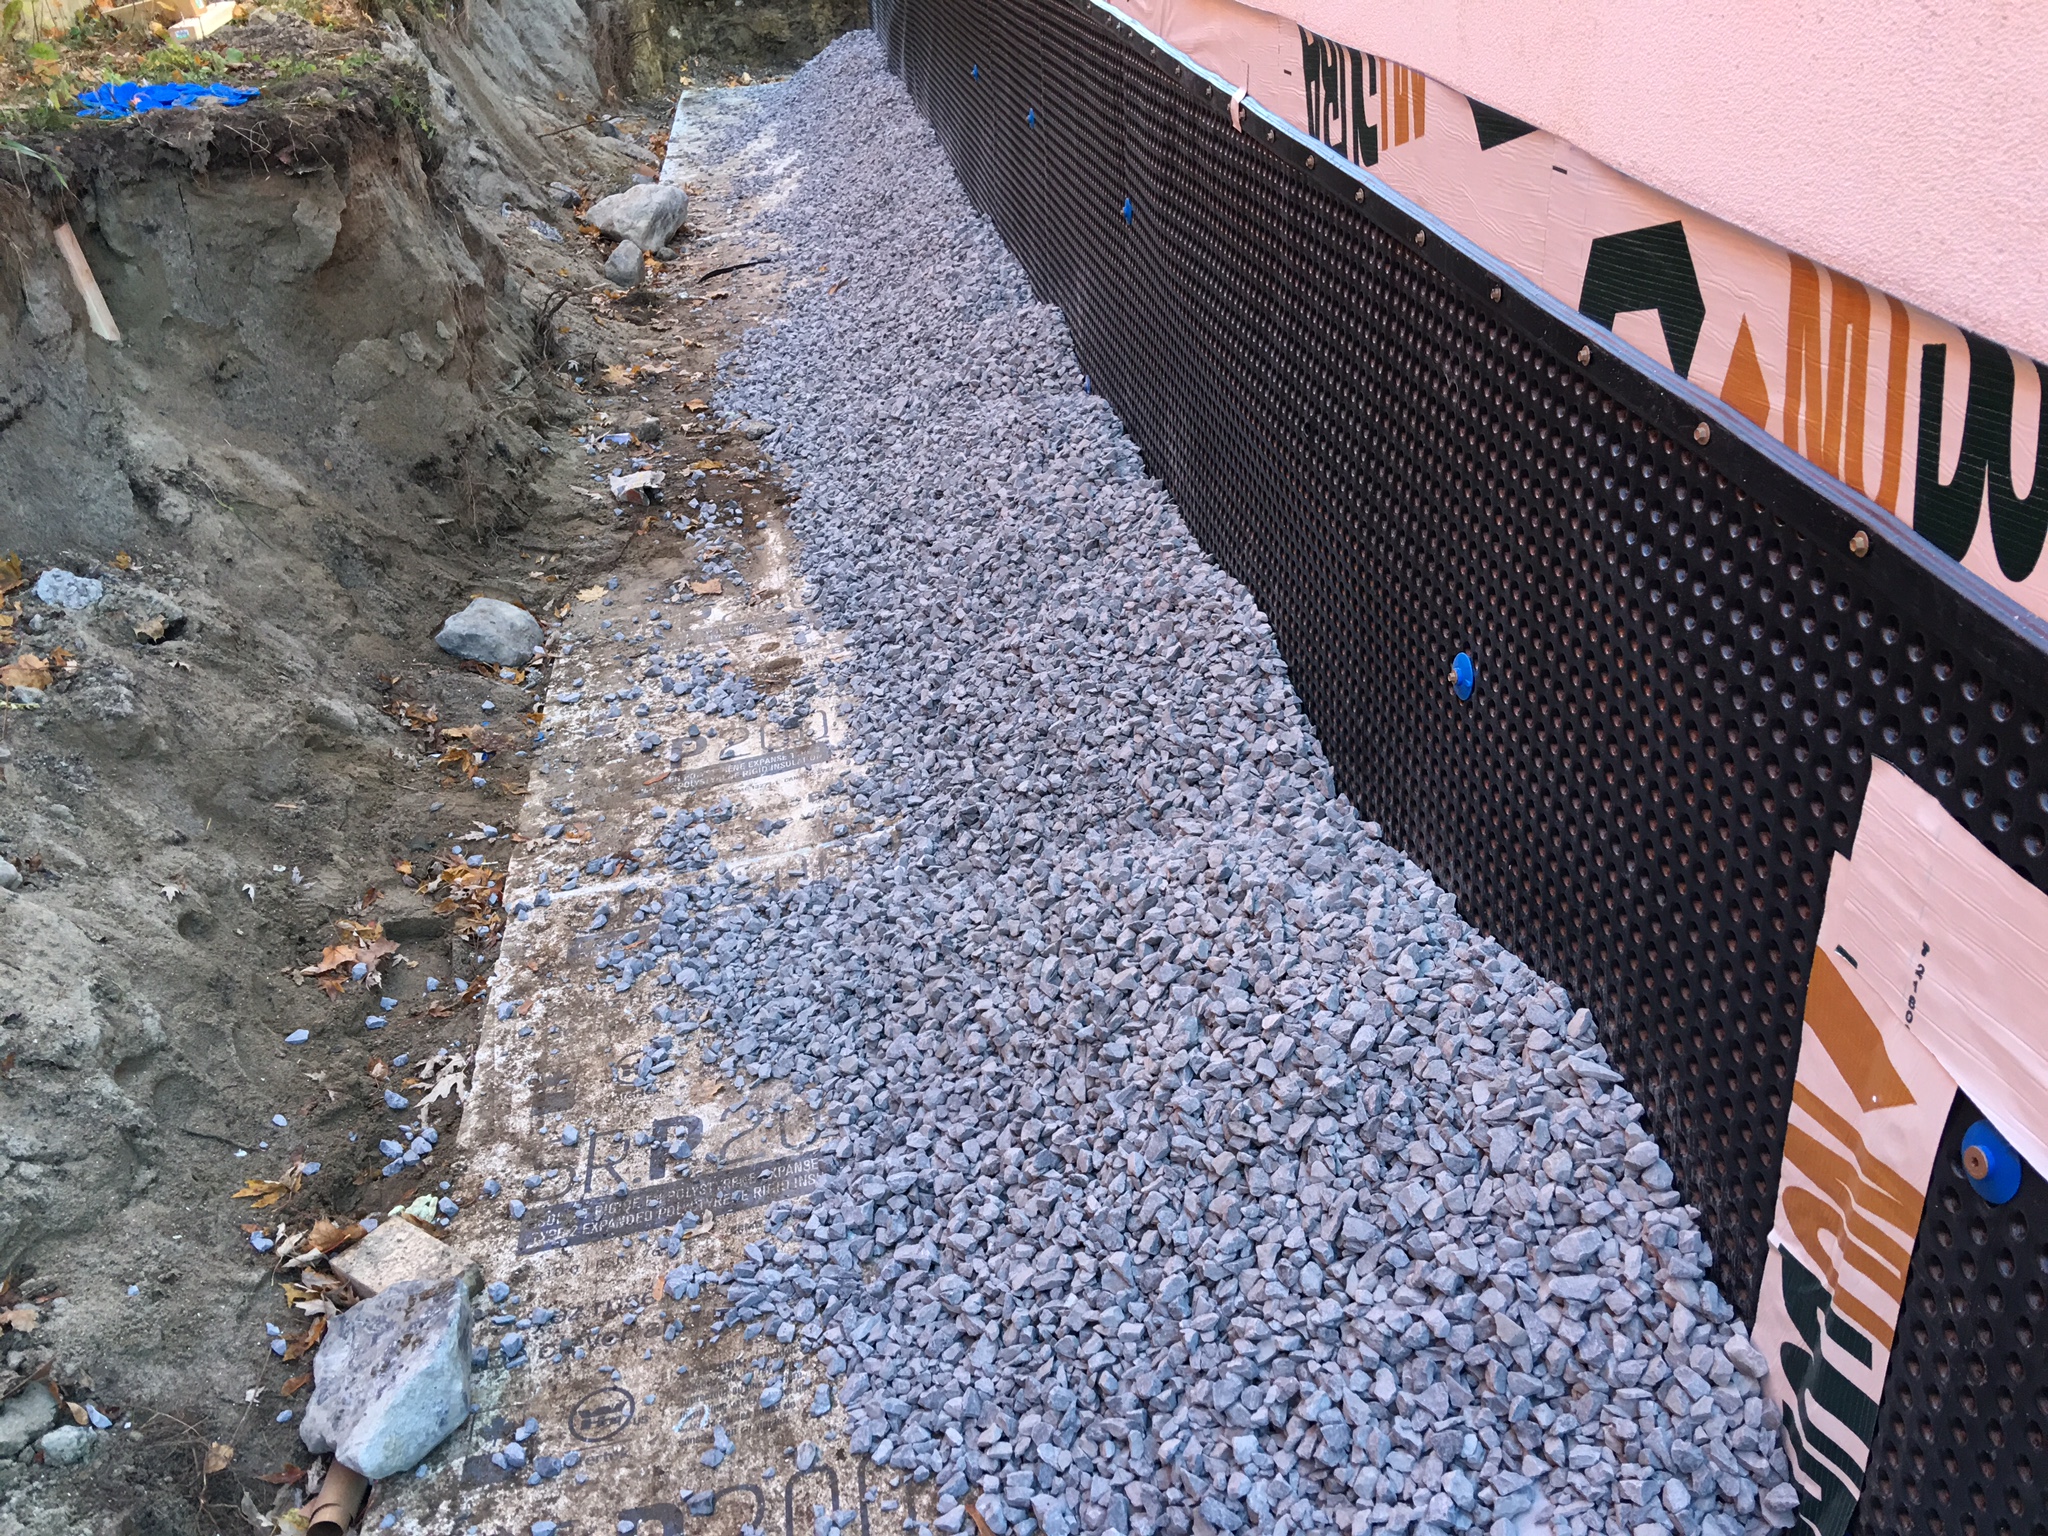
Our second floor (third if you include the walk-out basement) has been framed in. The cold temps have definitely come with challenges. We're using an adhesive on the edges of the wood fibre board that needs to be warm to be malleable. So we've rented space heaters to keep a small section of the basement warm for the adhesives. And there's snow on everything.

It's so bloody cold. Went out there for half an hour last week and my toes almost fell off. Props to construction workers in this city. It's unreal. And then I go sit in my cushy, warm office job, feeling slightly unworthy. Respect.

We took some friends on a tour of the house this past weekend. They had their children with them. The five year old said, "Mina's house looks like Elsa's* castle because it's tall and there was snow inside".

* For those of you who don't have a child, Elsa is a snow queen from Disney's film Frozen.

The third floor joists should be going in this week. In the meantime, Mark and I are trying to work out some design details for the inside, of which there are many. He's working on our kitchen & bath layouts so we can get them priced out to make decisions. We're agreeing on all the big picture items, so hopefully that bodes well for when we have to start selecting finishes.

He's also working on our HRV design. Where the fresh air and exhaust vents will be located. It's fascinating stuff. I'm working on a post with fancy visuals to help illustrate the concepts. I'm also doing a bit of research in to automated home technologies – ways to make the house smart. If anyone has any knowledge in this, please share! Just because the house is low-tech (crudely-speaking), doesn't mean other areas of the house have to be. Lights that learn? Maybe.

Dwindling winter daylight. Pano of the second floor.

Dwindling winter daylight. Pano of the second floor.

Rear elevation.

Rear elevation.

Views of the city beyond the tree and rooftops.

Views of the city beyond the tree and rooftops.

Periscope winter framing

The build has been frozen over the holidays, both literally and figuratively. So has my writing. Admittedly, I've been feeling frustrated that we weren't able to race ahead while the going was good (with the weather). I had hopes and dreams to be closed in before Christmas. Alas. There's a learning curve to be had with our wall system. And we've only had 2 or 3 guys out working most days. The second floor framing is coming along nicely now. We're full steam ahead in the new year. Whoooot! Attempting to stay warm and carry on.

Construction week 12: the first floor

This week, the team finished installing the ledger boards, hung our floor joists (supplied by Kott), finished the interior structural framing, and set a floor on top of the floor joists. Construction is starting to resemble a more traditional site-framed home. Over the weekend, we had a family picnic in the house and even had our first official guests over to join us (of course we all wore hard hats).

We forgot to mention on the blog that last week was International Passive House Days. There were several events and tours happening around the city. There is rising interest. Mark also gave a couple tours of our place (outside of the PH week events). One to a group from NRCan (Natural Resources Canada) and one to a group of fine folks taking a Passive House course. Seeing as how our build has been garnering interest and tour requests, we will post a sign-up form (eventually) and open them up to the public. We are all-for raising awareness for Passive House...we are also pretty proud of what we’re building and happy to show it off. We'll get that going soon.

Next week, work will be geared towards the main floor walls. 

In the new toasty basement

In the new toasty basement

Welcome to the main floor

Welcome to the main floor

Construction weeks 10 & 11: foundation complete

Last I wrote, I left us on a cliffhanger, didn’t I? Wood and hammers and nails — oh my! 

Oh no.

I jumped the gun. Much prep was yet required before framing could begin in earnest. Those tasks included:

1. Glued the last few stacks foam to the outside of our basement walls

All that foam combined (R-4/inch) should have an R-value of 74. (Ontario Building Code requirements for a foundation are as low as R-12 on the walls only).

Last layers of foam held in place while glue sets.

Last layers of foam held in place while glue sets.

2. Installed the frost skirt

Because the bottom of our foundation isn’t quite deep enough to guarantee that it will be below the frost line on any given winter, we needed a frost skirt. (This is a standard detail for shallow foundations in Canadian construction). It’s a thin layer of foam installed horizontally around the permitter of the building at foundation depth. Typical frost penetration is around 4 feet in Ottawa, but last years' exceptionally cold winter brought that to 6’. A frost skirt is used on shallow foundations to extend the path that frost must travel to reach the bottom of a foundation. Bad news if it were to happen — expansion, contraction (heaving) leads to cracks and structural damage. 

Frost skirt and overlapping and waterproofing membrane.

Frost skirt and overlapping and waterproofing membrane.

3. Waterproofed the foundation

Using a Nudura waterproofing membrane, which is a peel-and-stick rubberized sheet. This required some patience because the foam had to be cleaned and dried prior to application. It wasn’t adhering as snugly as we’d have like to see, either. Some temporary strapping helped with this. A dimple board, held on place with metal fasteners, was layered over top of the membrane. Bam. Waterproofed.

4. Set up drainage

Water shall not pass (our membrane) and will weep if it dares to encroach. Weeping tile was placed around the perimeter of the foundation and connected to the storm sewer. There is a filter sock around it to prevent it from filling up with sand. (Am I the only one who finds the term weeping tile odd? There is no porcelain or ceramic whatsoever. It’s a plastic pipe with some nylon around it. Weeping tile does sound dramatic, however. I therefore think it sticks).

Dimple board and weeping tile.

Dimple board and weeping tile.

5. City inspection

Our city inspector wanted to check things out prior to back fill. So he paid a visit. He decided he wanted to throw in an additional check, which threw a bit of a wrench in to our coordination efforts (see next step).

6. Backfill

There were two steps to the backfill process. First we covered the drain tile with clean gravel (as to not clog the nylon with sand and silt straightaway). Cue city inspector – who gave us the thumbs up. And then we filled up the hole with native fill (some of which has been sitting around and taking up precious room on site and some that was stored off-site).

My oh my. What a difference this back fill has made. Now that half of the foundation walls lie underground, it actually looks and feels like a basement from the outside. 

Backfill stage 1: clean fill

Backfill stage 1: clean fill

Backfill stage 2: native fill

Backfill stage 2: native fill

7. Sill plate leveling and installation

This sill plate is what our first floor walls rest on. It’s a 2 x 6” piece of lumber that’s installed on top of the concrete, leveled with grout. 

sill-plate-ottawa-passivehouse

8. Ledger board and air barrier prep

The ledger board is what our first floor floor rests on. Remember those ledger bolts that were screwed into the concrete? These hold up the 2 x 10” ledger board. But out air barrier goes up first – Siga MAJPELL 5 membrane. Mark had a Periscope broadcast on this last week. They installed it with excess available to overlap once the second/main floor goes up. (Gotta keep that air barrier line as clean and streamlined as possible!)

Air barrier detail over ledger bolts

Air barrier detail over ledger bolts

Ledger board install

Ledger board install

And so forth

That’s the house up-to-date. Additionally, we had a few deliveries made and spent some time shuffling our construction materials around as we suddenly had a lot more room with the backfill out of the way. Our neighbours were no doubt pleased to regain their front lawn. And we lost a couple days due to bad (wet) weather.

Lotsa stuff out front. 

Lotsa stuff out front. 

Behind the scenes, there was a bit of good news. We applied for our first construction mortgage withdrawal. Mark explained our house build to the appraiser, and why our breakdowns/allotments should be different. The appraiser accepted Mark’s breakdowns — whoot! We have been reimbursed for Phase 1. Foundation complete. This helps alleviate some of our financial pressures.

For next week: wood and hammer and nails — oh my! 

Construction week 5: pipes

road-cut

Work resumed this week. “Sewer-gate” was resolved, in that our neighbours sewage pipe was relocated. It was an unfortunate setback, but we are very fortunate and thankful that our yellow-house neighbours were so cooperative. 

Our excavators performed each task this week twice — for us and our neighbours. Tasks included: digging trenches out to the street, digging up the road, laying down some pipe, connecting to the city storm & sewage, backfilling, and finally sealing the road. They managed to burrow underneath the sidewalks, saving the repair hassle BONUS. Once our neighbours house was connected through their new-fangled pipes, their old pipe was capped with concrete and removed from our hold. Felt good to get that behind us.

Double road cuts -- count them -- 2!!

Double road cuts -- count them -- 2!!

Mark lay our ground source heat loop over the weekend with a wonderful crew of helpers. Next week (aka, this week): more good things.