Construction weeks 10 & 11: foundation complete
Last I wrote, I left us on a cliffhanger, didn’t I? Wood and hammers and nails — oh my!
Oh no.
I jumped the gun. Much prep was yet required before framing could begin in earnest. Those tasks included:
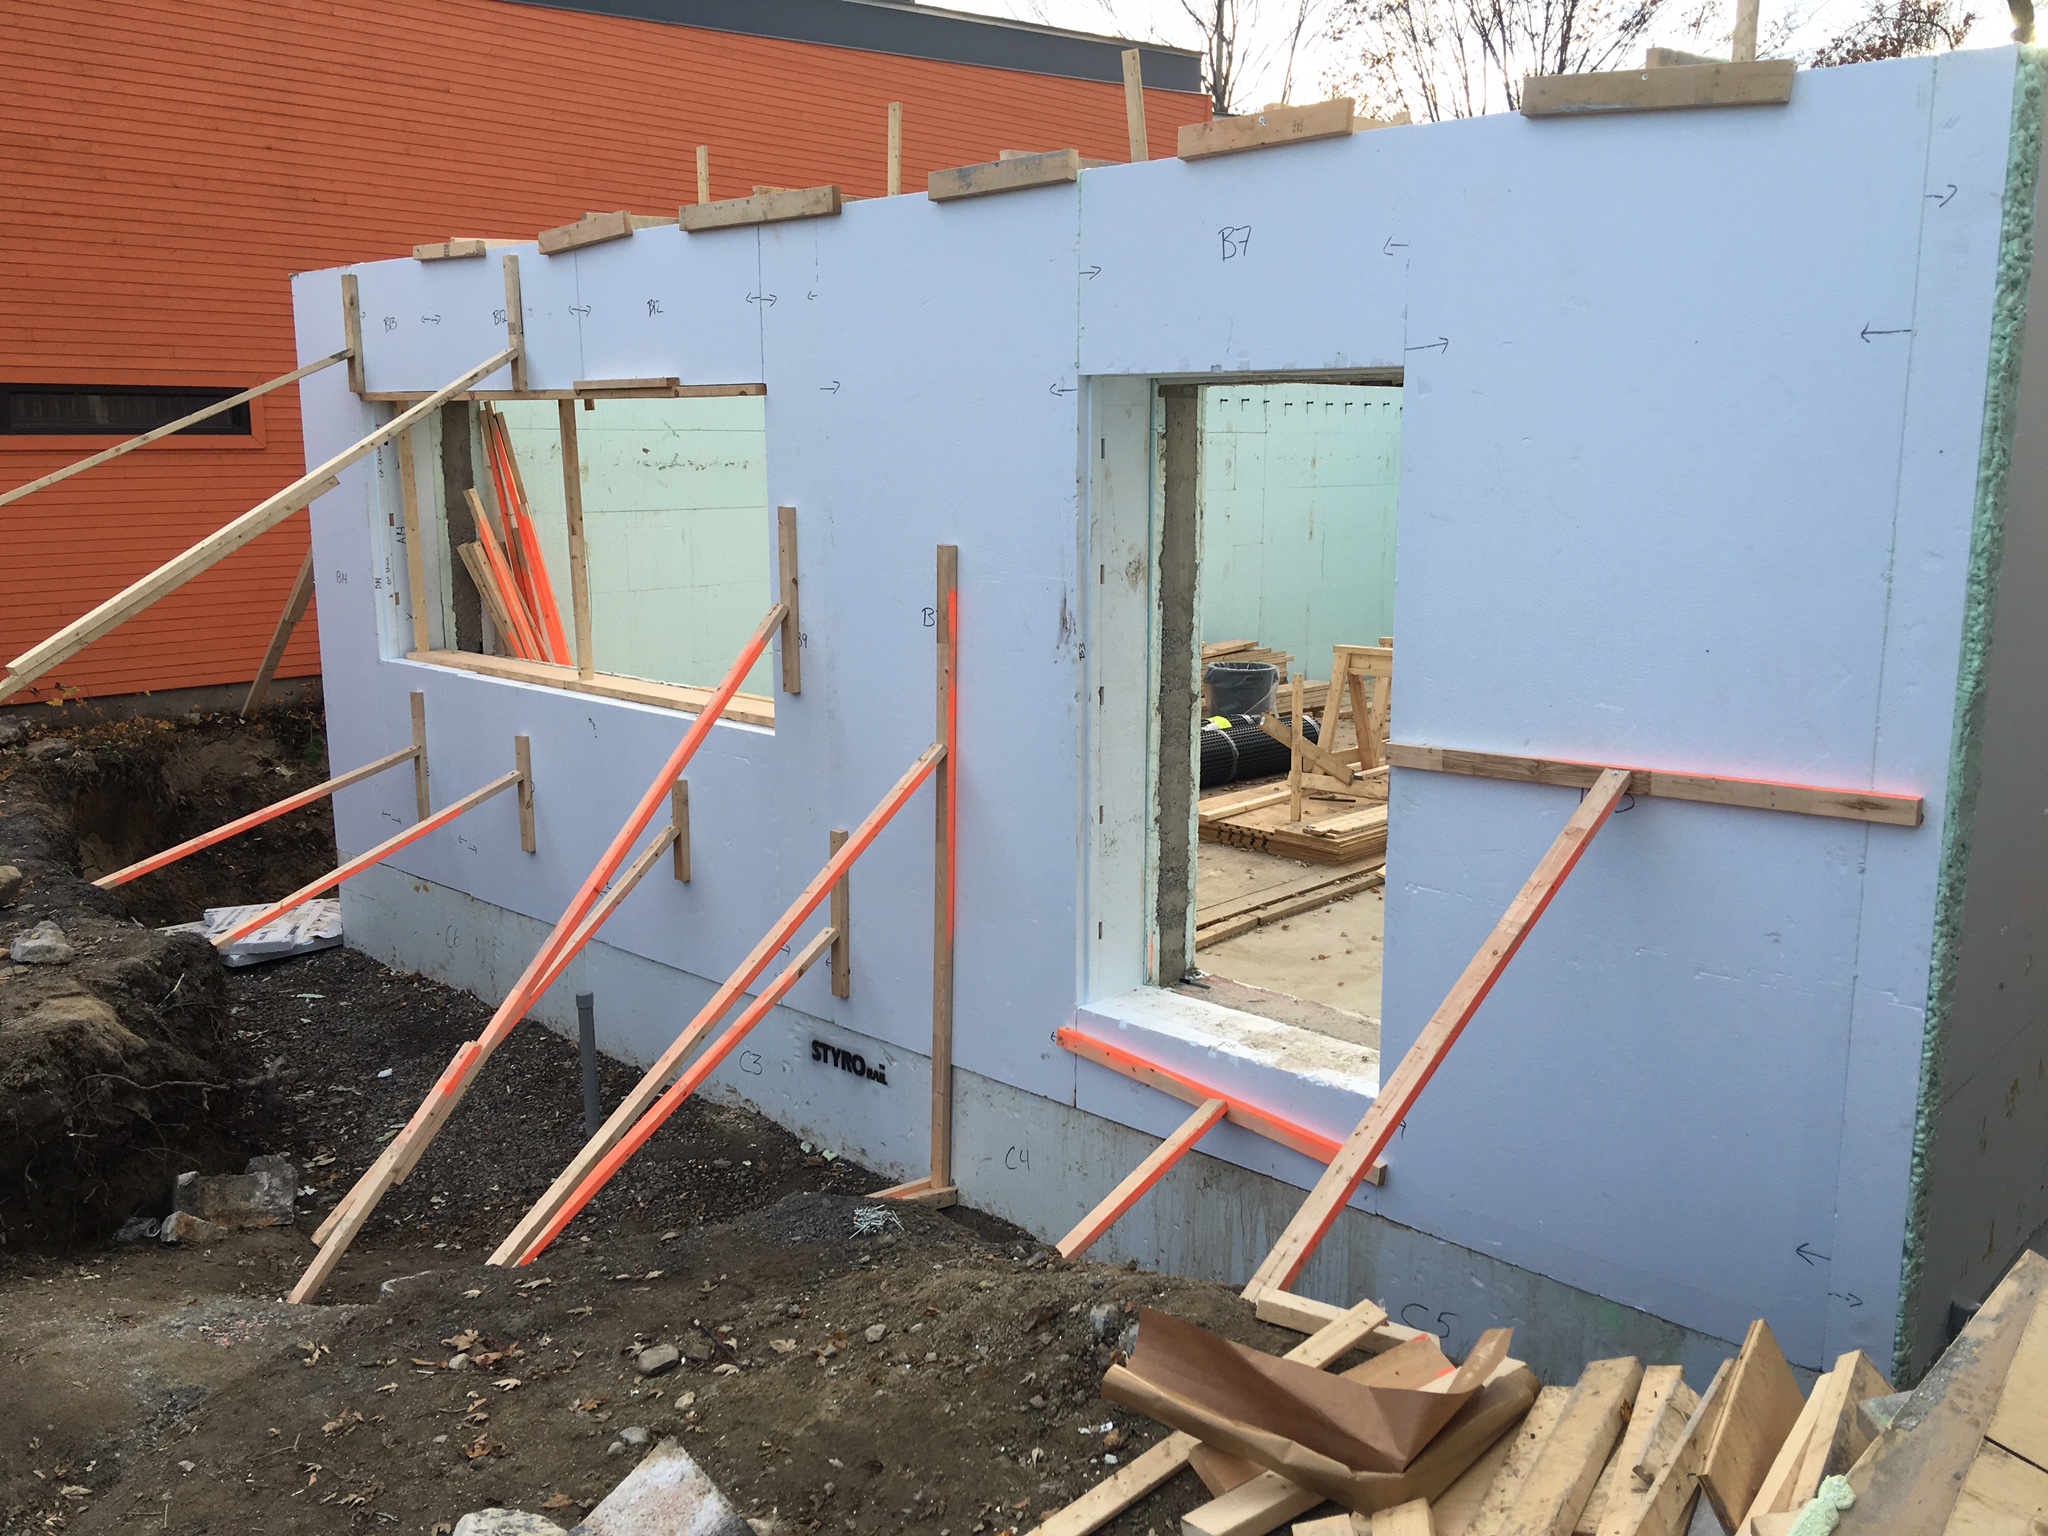
1. Glued the last few stacks foam to the outside of our basement walls
All that foam combined (R-4/inch) should have an R-value of 74. (Ontario Building Code requirements for a foundation are as low as R-12 on the walls only).
Last layers of foam held in place while glue sets.
2. Installed the frost skirt
Because the bottom of our foundation isn’t quite deep enough to guarantee that it will be below the frost line on any given winter, we needed a frost skirt. (This is a standard detail for shallow foundations in Canadian construction). It’s a thin layer of foam installed horizontally around the permitter of the building at foundation depth. Typical frost penetration is around 4 feet in Ottawa, but last years' exceptionally cold winter brought that to 6’. A frost skirt is used on shallow foundations to extend the path that frost must travel to reach the bottom of a foundation. Bad news if it were to happen — expansion, contraction (heaving) leads to cracks and structural damage.

Frost skirt and overlapping and waterproofing membrane.
3. Waterproofed the foundation
Using a Nudura waterproofing membrane, which is a peel-and-stick rubberized sheet. This required some patience because the foam had to be cleaned and dried prior to application. It wasn’t adhering as snugly as we’d have like to see, either. Some temporary strapping helped with this. A dimple board, held on place with metal fasteners, was layered over top of the membrane. Bam. Waterproofed.
4. Set up drainage
Water shall not pass (our membrane) and will weep if it dares to encroach. Weeping tile was placed around the perimeter of the foundation and connected to the storm sewer. There is a filter sock around it to prevent it from filling up with sand. (Am I the only one who finds the term weeping tile odd? There is no porcelain or ceramic whatsoever. It’s a plastic pipe with some nylon around it. Weeping tile does sound dramatic, however. I therefore think it sticks).

Dimple board and weeping tile.
5. City inspection
Our city inspector wanted to check things out prior to back fill. So he paid a visit. He decided he wanted to throw in an additional check, which threw a bit of a wrench in to our coordination efforts (see next step).
6. Backfill
There were two steps to the backfill process. First we covered the drain tile with clean gravel (as to not clog the nylon with sand and silt straightaway). Cue city inspector – who gave us the thumbs up. And then we filled up the hole with native fill (some of which has been sitting around and taking up precious room on site and some that was stored off-site).
My oh my. What a difference this back fill has made. Now that half of the foundation walls lie underground, it actually looks and feels like a basement from the outside.
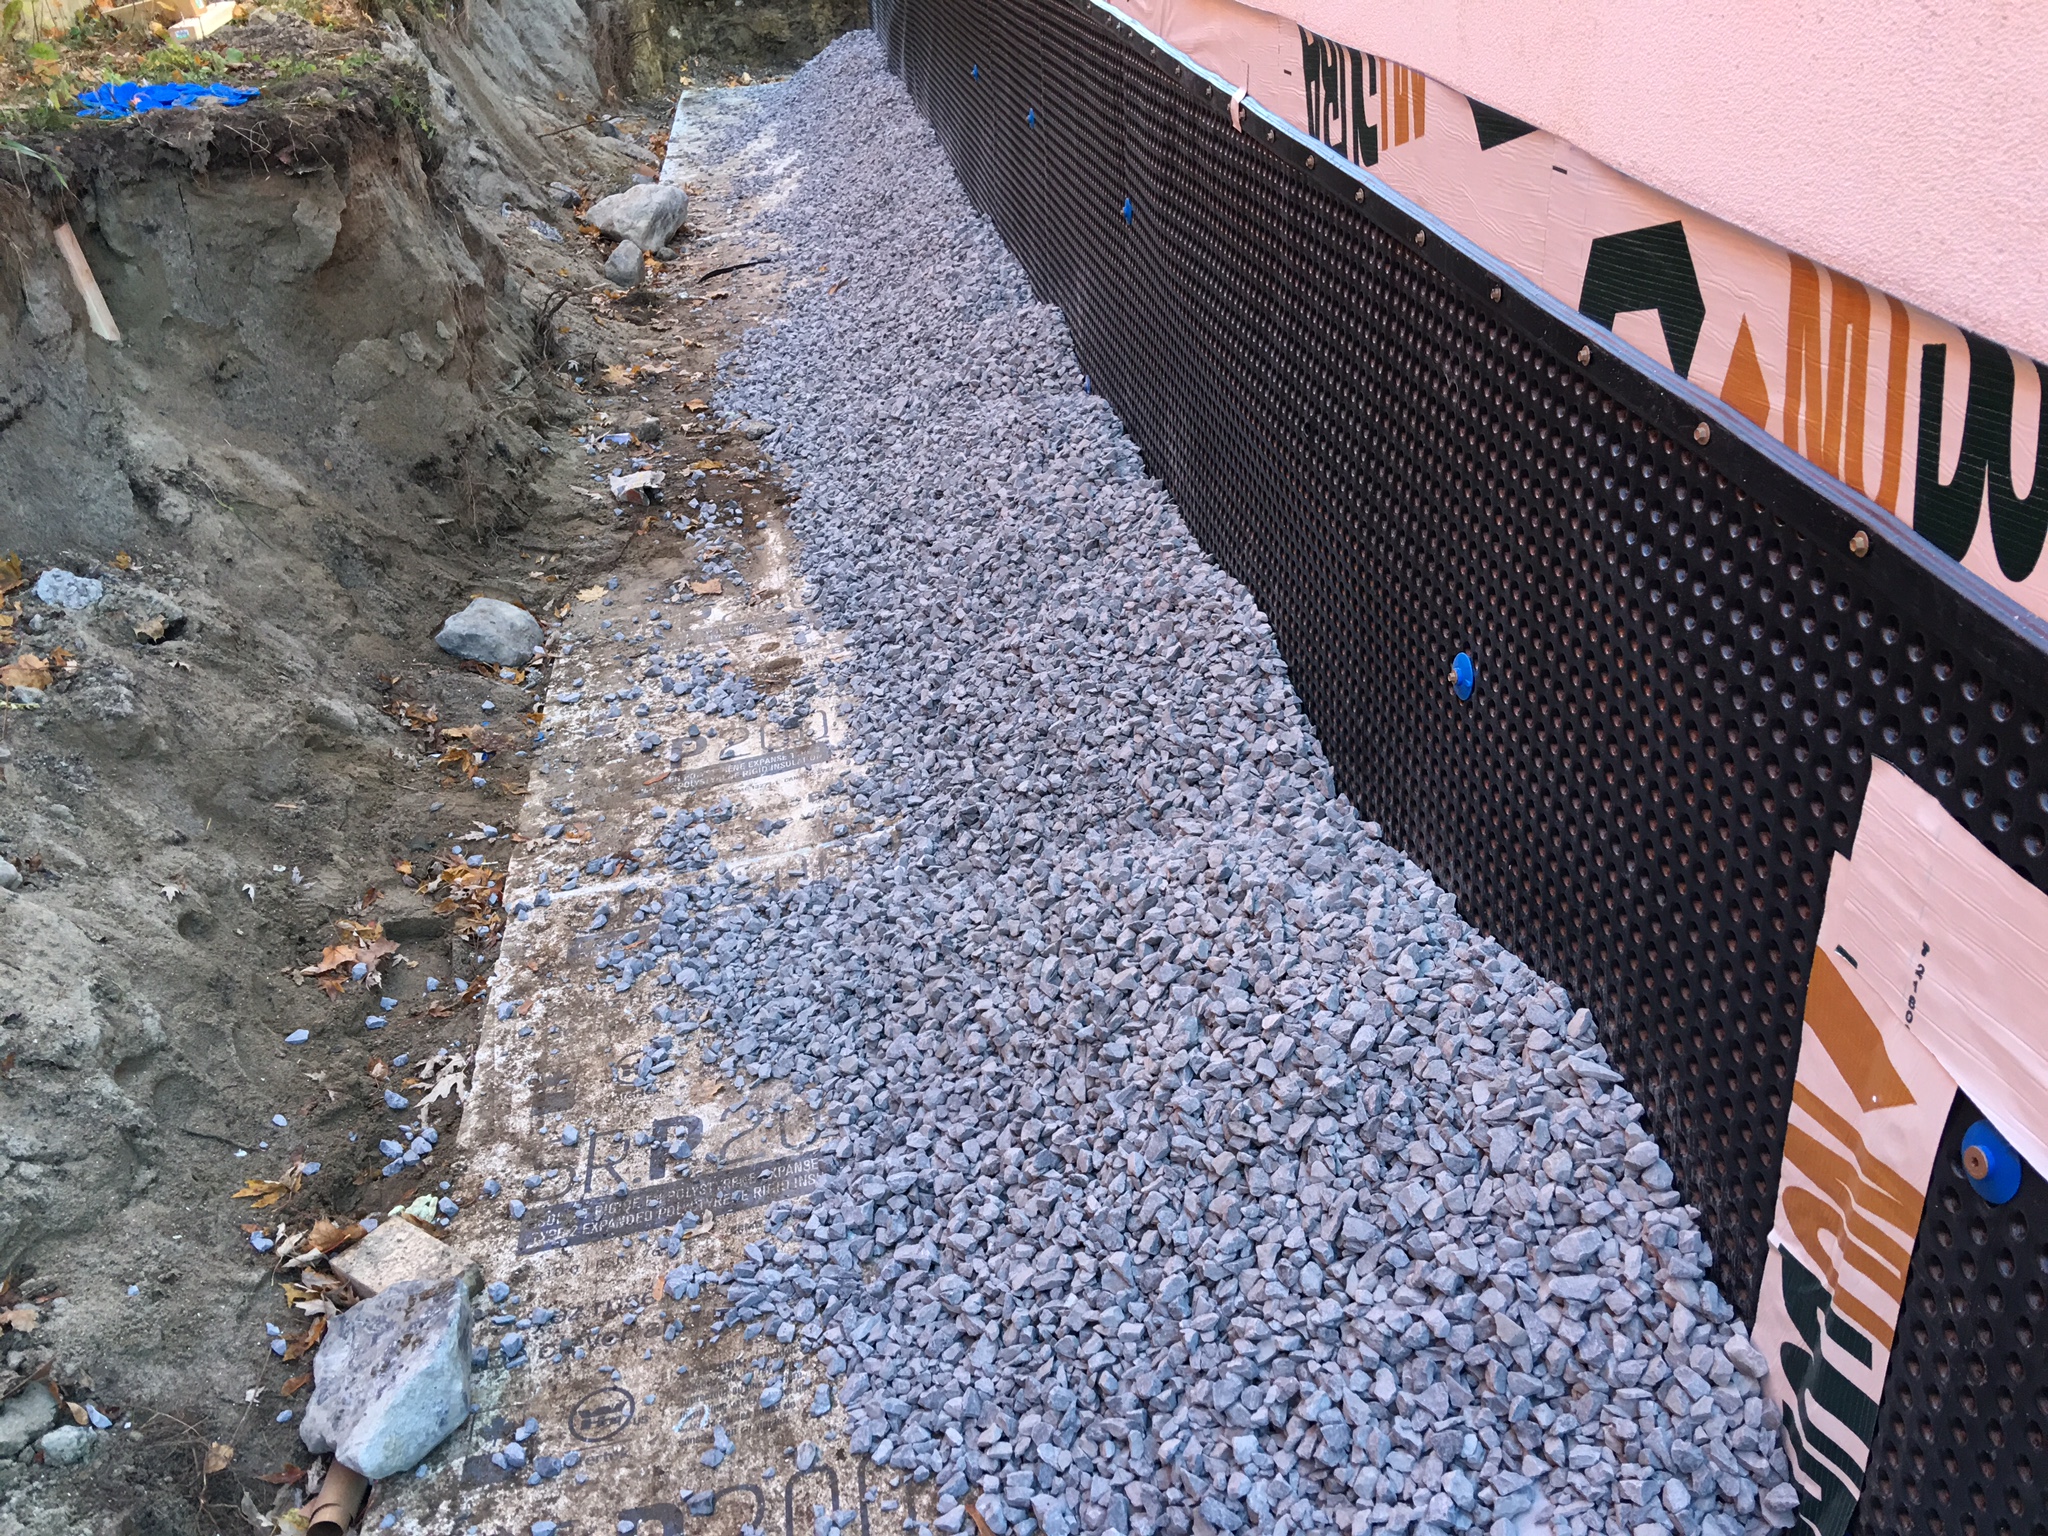
Backfill stage 1: clean fill

Backfill stage 2: native fill
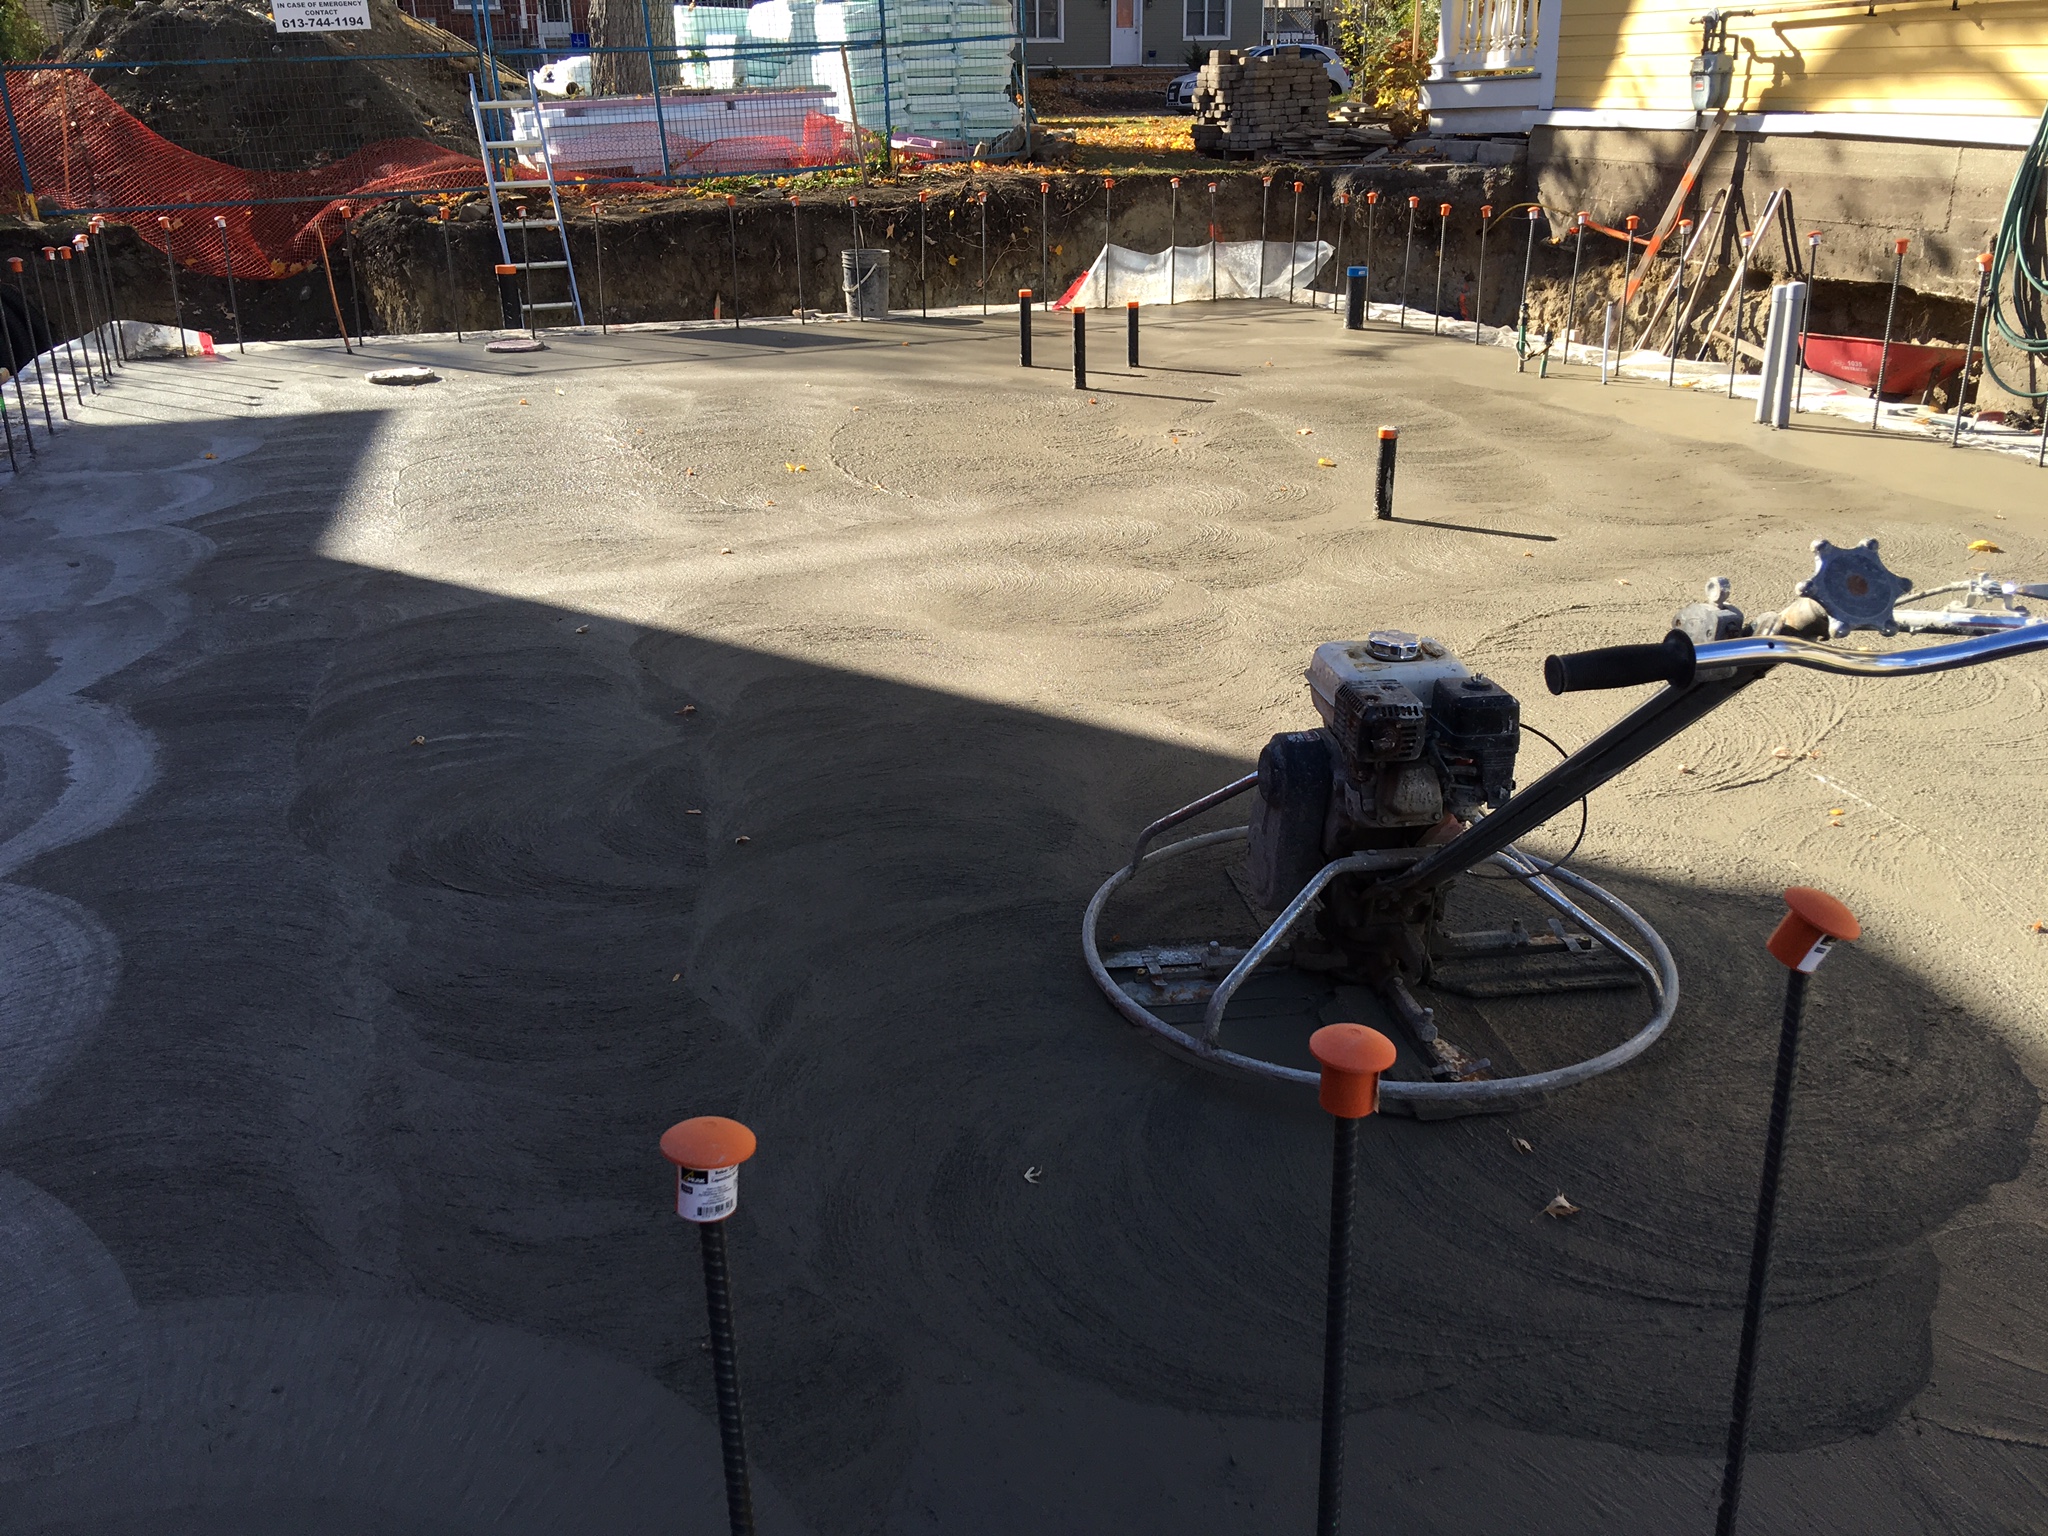
7. Sill plate leveling and installation
This sill plate is what our first floor walls rest on. It’s a 2 x 6” piece of lumber that’s installed on top of the concrete, leveled with grout.

8. Ledger board and air barrier prep
The ledger board is what our first floor floor rests on. Remember those ledger bolts that were screwed into the concrete? These hold up the 2 x 10” ledger board. But out air barrier goes up first – Siga MAJPELL 5 membrane. Mark had a Periscope broadcast on this last week. They installed it with excess available to overlap once the second/main floor goes up. (Gotta keep that air barrier line as clean and streamlined as possible!)

Air barrier detail over ledger bolts

Ledger board install
And so forth
That’s the house up-to-date. Additionally, we had a few deliveries made and spent some time shuffling our construction materials around as we suddenly had a lot more room with the backfill out of the way. Our neighbours were no doubt pleased to regain their front lawn. And we lost a couple days due to bad (wet) weather.

Lotsa stuff out front.
Behind the scenes, there was a bit of good news. We applied for our first construction mortgage withdrawal. Mark explained our house build to the appraiser, and why our breakdowns/allotments should be different. The appraiser accepted Mark’s breakdowns — whoot! We have been reimbursed for Phase 1. Foundation complete. This helps alleviate some of our financial pressures.
For next week: wood and hammer and nails — oh my!