Grey water recovery system
Part 4 of casual couch conversations — our grey water recovery system. Flushing our toilets with shower water.

Documenting the design and construction from start to finish of a Passivhaus (Passive House) in Ottawa, Canada. Insider info on what it's like working with an architect and costs associated with building.
Part 4 of casual couch conversations — our grey water recovery system. Flushing our toilets with shower water.
Part 3 of casual couch conversations. Counteracting the cooling of our mechanical room, a neutral side effect of our domestic hot water tank.
Part 2 of our mechanical system, the domestic hot water heater, explained over casual couch conversations.
Part 1 of a video series with Mark casually explaining our mechanical systems as we sit on the couch. There will be three videos following along later this week, going deeper into our mechanical systems. All of which stemmed from my earlier post on appliances.
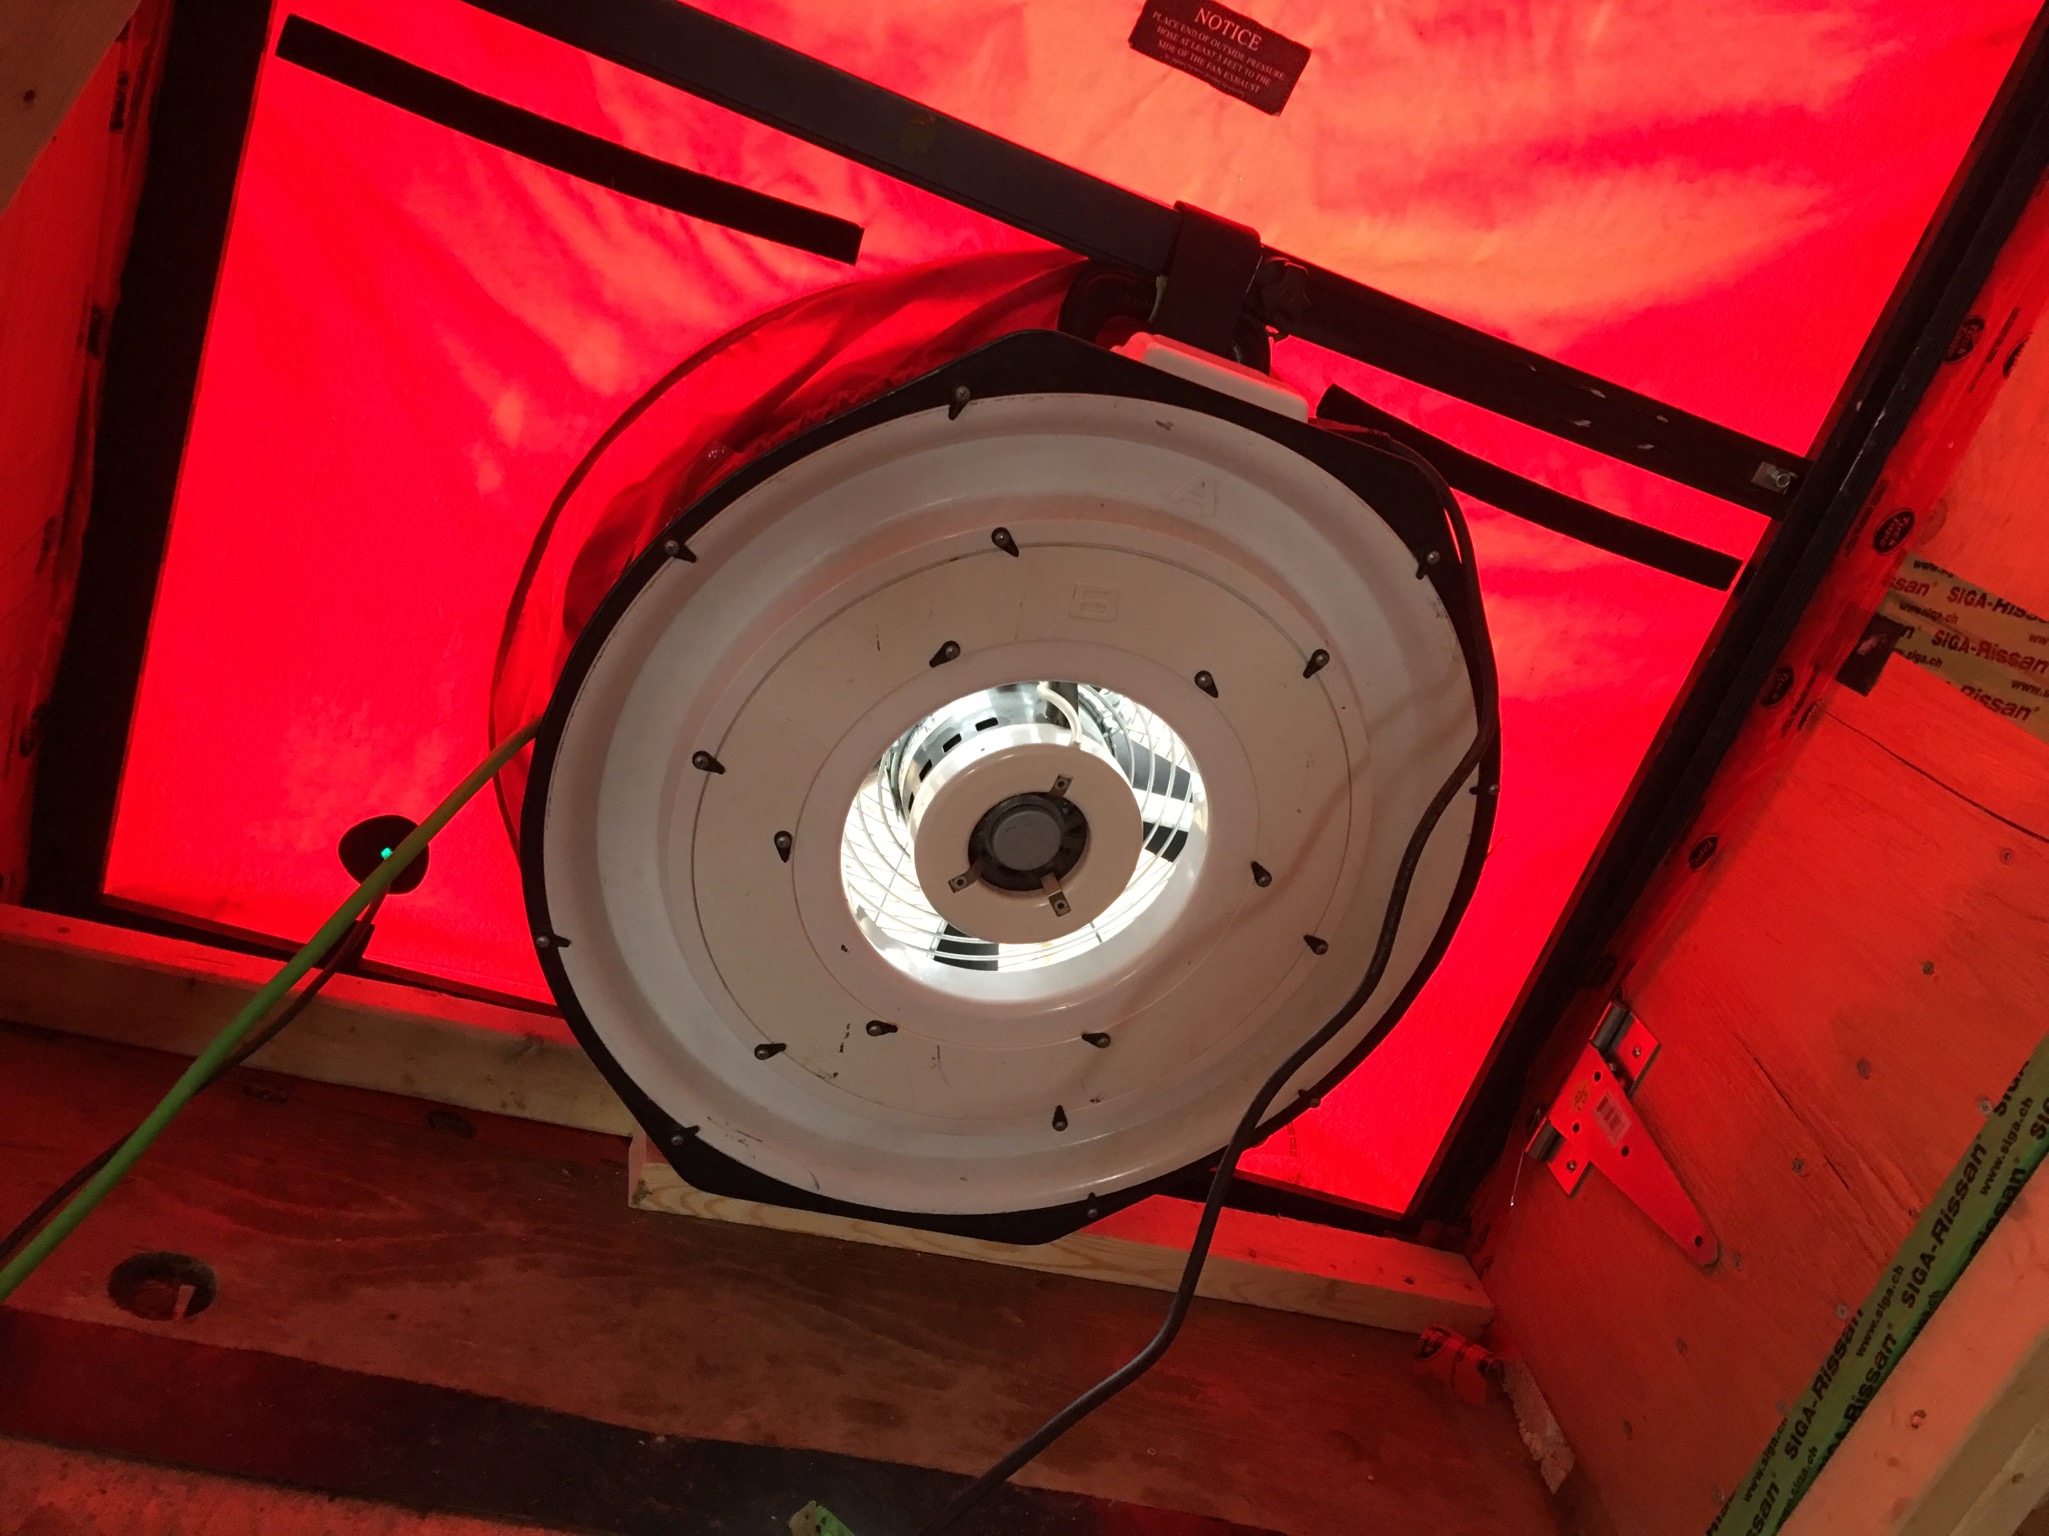
Before any of our electrical and plumbing work begins, we did a blower door test. This tests to see how air-tight our house is. The test we did was only a preliminary blower door test to ensure that our walls are on track to hit the target, even though not all of our windows and doors are completely sealed yet. We did some temporary taping in a few locations in order to perform the test. We also only performed a depressurization test this time (PassivHaus requires both a depressurization and pressurization test). This is because the temporary taping would have failed under pressurization.
The PassivHaus Standard requires an air tightness of 0.6 ACH50 or better. ACH50 stands for Air Changes per Hour at 50 Pascals of pressure, or the total number of times that the entire volume of air in the house will be exchanged through leakage at a given pressure. 50 Pascals is roughly 5 times the pressure that a house would experience on a cold winter day due to difference in temperatures between the inside and outside, so the test ensures that performance at everyday pressures will be ensured.
The results? We achieved 0.47 ACH50 on the first try!! We are very happy with this result. We will retest the house after the last few windows are completely installed to see how we can bring this result down even lower. The lower this number gets, the smaller and more effective our heating and ventilation system can be.
Early results predictions/friendly wagers. Here's hoping we reach Mark's 0.18 with the final.
Exciting times – appliance showrooms
Choosing our Passive House appliances was no simple task. Our decisions we were largely garnered by a couple very important Passive House principles, in addition to the normal stuff you’d look for in an appliance: cost, performance, reliability, aesthetics, noise level, etc.
1. Low energy use
We have to ensure that our house’s energy demands are under a certain value in order to meet the Passive House standard. We calculate this with the help of the energy modeling software, which requires many different input values. Some, of which, are the EnerGuide ratings for our appliances. They tell you the annual energy consumption of the model in kilowatt hours. The EnergyStar program publishes a ‘most efficient’ list every year, which is a good place to start looking.
http://www.nrcan.gc.ca/energy/products/energystar/why-buy/13612
https://www.energystar.gov/products/energy_star_most_efficient
2. No external ducting
Here’s where our list of options gets dramatically reduced. With our house, we are not venting to the outside (heaven forbid we penetrate the air barrier). As a result, we must find recirculating options for appliances that otherwise would (vent to the outside), such as the range hood ventilator and our clothes dryer. Oh, and since we have no external ventilation, this precludes us from considering a gas cooktop because open flames without external ventilation is a ‘no-no’ for building code.
At first these may sound like Passive House trade-offs, but in fact, Mark and I are seeing them more as ‘trade-ups’. Because why would you want to throw all that warm air (aka. Heat, aka. Energy) out of the house when you could recycle it and feed the energy needs of our house from within rather than pull from the grid? I sure wouldn’t.
With that in mind, here’s what we decided to go with:
Dryer
Whirlpool 7.3 cu ft. HybridCare™ Ventless Duet® Dryer with Heat Pump Technology
The most efficient dryer on the market also happens to use ventless heat pump technology. The same heat pump technology that operates our domestic hot water tank. Bam.
Washer
We’re simply getting the matching Whirlpool washing machine.
Dishwasher
Bosch 500 series - SHP65T52UC
Bosch dishwashers also use heat pump technology, making them pretty darn efficient. This one is whisper quiet, which we like, especially considering our main floor is rather open-plan.
Cooktop
Bosch 500 Series 30” Induction Cooktop
We are so excited that induction technology has made it to the consumer world! There are so many great things to say about induction. It uses magnetic conduction, which is instant, consistent, precise and significantly more energy-efficient than ol’ thermal conducting cooktops (gas and electric) which throw away much of the heat they produce. And best of all, you can put your hand on the burner immediately after taking the pot away. Who hasn’t wanted to do that before?! Well now you can.
Wall oven
Whirlpool convection 30” white - WOS 92EC0AS
Ventilation
Best Cattura Downdraft 30” - D49M30SB
This was by far our most complicated appliance to figure out. Our cooktop is in the island — we like to cook and be part of the action. We have a very large, very beautiful window spanning the length of our kitchen. The last thing we wanted to do was to put a space-aged, over-the-island range hood hanging down from the ceiling, disrupting our lines and views out the window. In order to avoid this, we needed to find a downdraft ventilator — one that sits in the island itself — with a recirculating kit.
Downdraft ventilators are widely regarded as inferior to mounted-above styles because they aren’t able to catch as much of the steam, smoke, and heat, that naturally rises. Even though downdrafts are not quite as effective at removing air, this is less of an issue for us thanks to our induction cooktop. A gas cooktop uses combustion to heat, a natural byproduct of which is smoke (which is why you’re required to vent to the outside with a gas cooktop). With induction, smoke and other pollutants are only a byproduct of forgetting the pot of boiling pasta on the stove too long, which reduces the number of contaminants our blower has to extract from the air. For the most part, our ventilator will only have to remove steam and smells. Any pollutants will be cleared, prior to recirculation, with a charcoal filter.
There are several companies that make these downdraft ventilators, with recirculation kits, that actually pop-up out of the counter to heights as high as 18”. They are all luxury brands. I’ve had a hard time coming to terms with the fact that our downdraft vent, which is inferior to overhead vents, was going to cost as much as the cooktop and wall oven combined. This is one case where design has trumped all other options.
On the ‘up’ side, however, we can take advantage of the recirculated air and improve the overall experience of working in our kitchen. How, you ask?
We will be mounting the fan blower and charcoal filter in our mechanical room, effectively removing any noise from the kitchen itself. No more shouting over a noisy fan motor. And by moving the warm cooking air into the mechanical room, we will be augmenting the energy source for our domestic hot water heater. Our domestic hot water tank is a heat pump model, which pulls heat in from the surrounding air through a compressor and into our water. The surrounding air (in our mechanical room) becomes slightly cooler as a result. Our downdraft air supply will help make-up some of that heat lost to the hot water tank, and reduce our requirement to pull from the grid.
Make sense? I’m not surprised if it doesn’t. I’ll be posting a video of Mark explaining this to me with helpful diagrams likely tomorrow....
So there you have it. Some big decisions made. Each decision turns out to be more of an ordeal then at first glance. I know more about dishwashers now than I ever thought I needed to know. But I'm glad I took the time to do the research and understand. As we are doing with every aspect of our build.
I should also note that we purchased a Consumer Reports Online subscription for the duration of the build to help us with some of our research. It’s been most helpful so far in choosing our appliances. http://www.consumerreports.org/
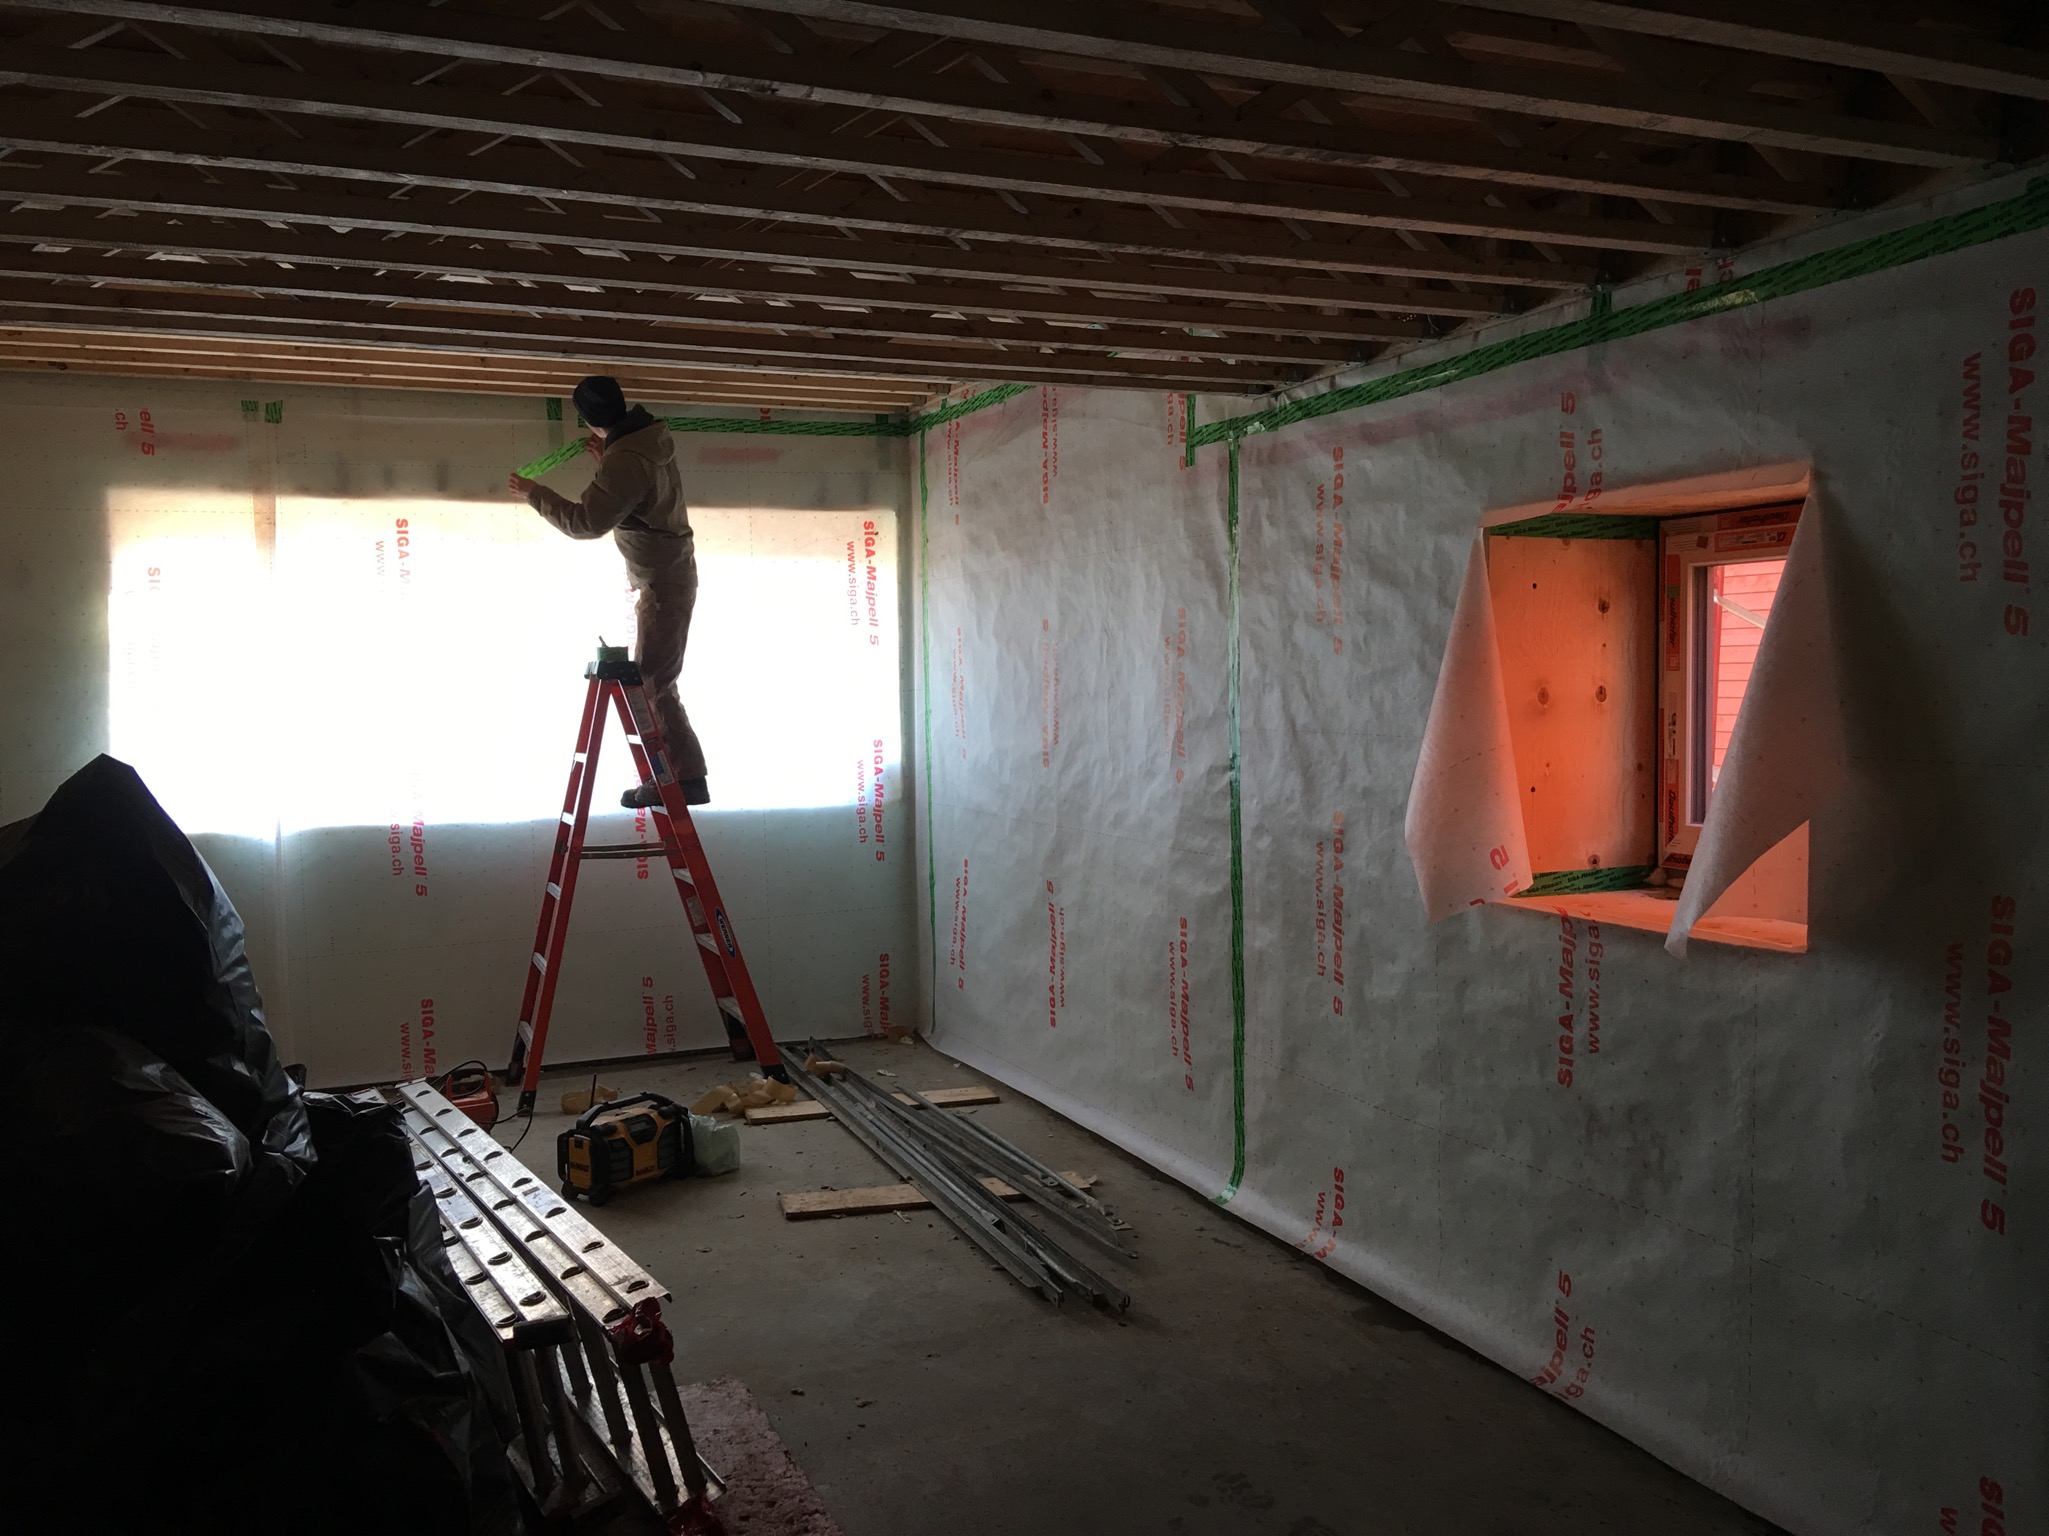
After 30 weeks of construction, our interior wall cavities are nearly complete. They will contain our electrical and plumbing 'behind the scenes' as to not breach our Passive House air barrier. But before we can call up the electrician and plumber, The Cornelis Grey crew has a few more interior jobs to finish up first. We also need to make some key lighting and plumbing decisions. Decisions decisions.
On that note, we crept a little closer towards making some other big decisions. The biggest of which is our siding materials and install. We’re going with black hardie panel on the inside core, and natural cedar on the enveloping sleeve.
Our cladding choices
We want this inside core to feel as if it were rising from the earth, as one monolithic shape. Mark is typically not a huge fan of hardie board, especially in our case, because the standard flashing details (at the corners and between boards) can feel clunky and disjointed, which works against the unbroken, monolithic shape we were hoping for. But the price and practicality of hardie panel is hard to beat (vs. cement board). Never one to compromise, Mark has designed some custom flashing for between the boards and corners. He’s also craftily designed our electrical panel (where the meter sits on the outside of the house) and eavestrough system as well. We’re getting it bent and cut out of matching black metal. Metal is pretty cheap, even when it’s custom. It’s details like this that we hope will shine through in our house.
The cedar sleeve is the protective wrapper hugging the house. It echoes our living space and forces inward focus, which stems from our love of courtyard architecture. The black hardie-paneled core grounds the house, while the cedar screen lifts it.
We drove out to Smiths Falls this weekend to take a look at some cedar. There are so many benefits to cedar siding. We plan on allowing ours to age naturally, which will turn it from a warm blond wood to an soft silver colour. It’s super no maintenance, is water and insect resistant, and lasts a lifetime in its natural state. It’s also grown locally and milled to our specs. What’s not to love?
Eastern white cedar, aging gracefully like Meryl Streep
Before: logs of easter white cedar
After: milled 4" eastern white cedar with 'v' groove
I've explained a bit of the 'why' behind our siding choices. But there were certainly many other factors that played unto our decision-making. You may have noticed we have two brightly coloured neighbours? If you haven’t, one is canary yellow while the other is straight-up orange. On the one hand, we could have followed suit and painted it a wacky bright colour, becoming Ottawa’s very own ‘painted ladies’. But on the other...we’ve decided to contrast them by keeping things natural and neutral, while complementing them with a solid ultramarine blue door. We’ll be introducing more colour with our front yard planter boxes and decking, which will incorporate some rusty-coloured weathering steel. The house will probably recede as it ages gracefully and settles into it’s new home on the street.
And last but not least:
Drumroll please….
The preliminary air test was completed.
Stay tuned for the results, hehe.
Hint: we passed with flying colours.
Interior walls somehow make the spaces feel bigger
Interior walls are complete. We are holding off on building our service cavities until Mark can perform an air test. He can’t perform the air test until the shell is completely sealed. He can’t finished sealing off the shell until he gets more tape, which he ran out of late on Friday. So...the air test will have to happen next week.
It’s important that the air test happen at this early stage because if we find gaps now, they’re easy to fix. If we wait until after we build the wall cavities, we’d have to take them apart to get at the leaks. The air test is important because the performance of our house hinges on it being of a certain value. Any amount we exceed this value, drastically improves our energy model. Our target is very aggressive, so we’re not expecting to beat it by much. But we hope so. We hope it breaks records ;)
Mark is contemplating whether or not to Periscope the air test. If you want to see it, let us know! Once we’ve run it, we’ll write another post going into a bit more detail.
What else happened last week?
Next week: air test!
Basement air and vapour membrane
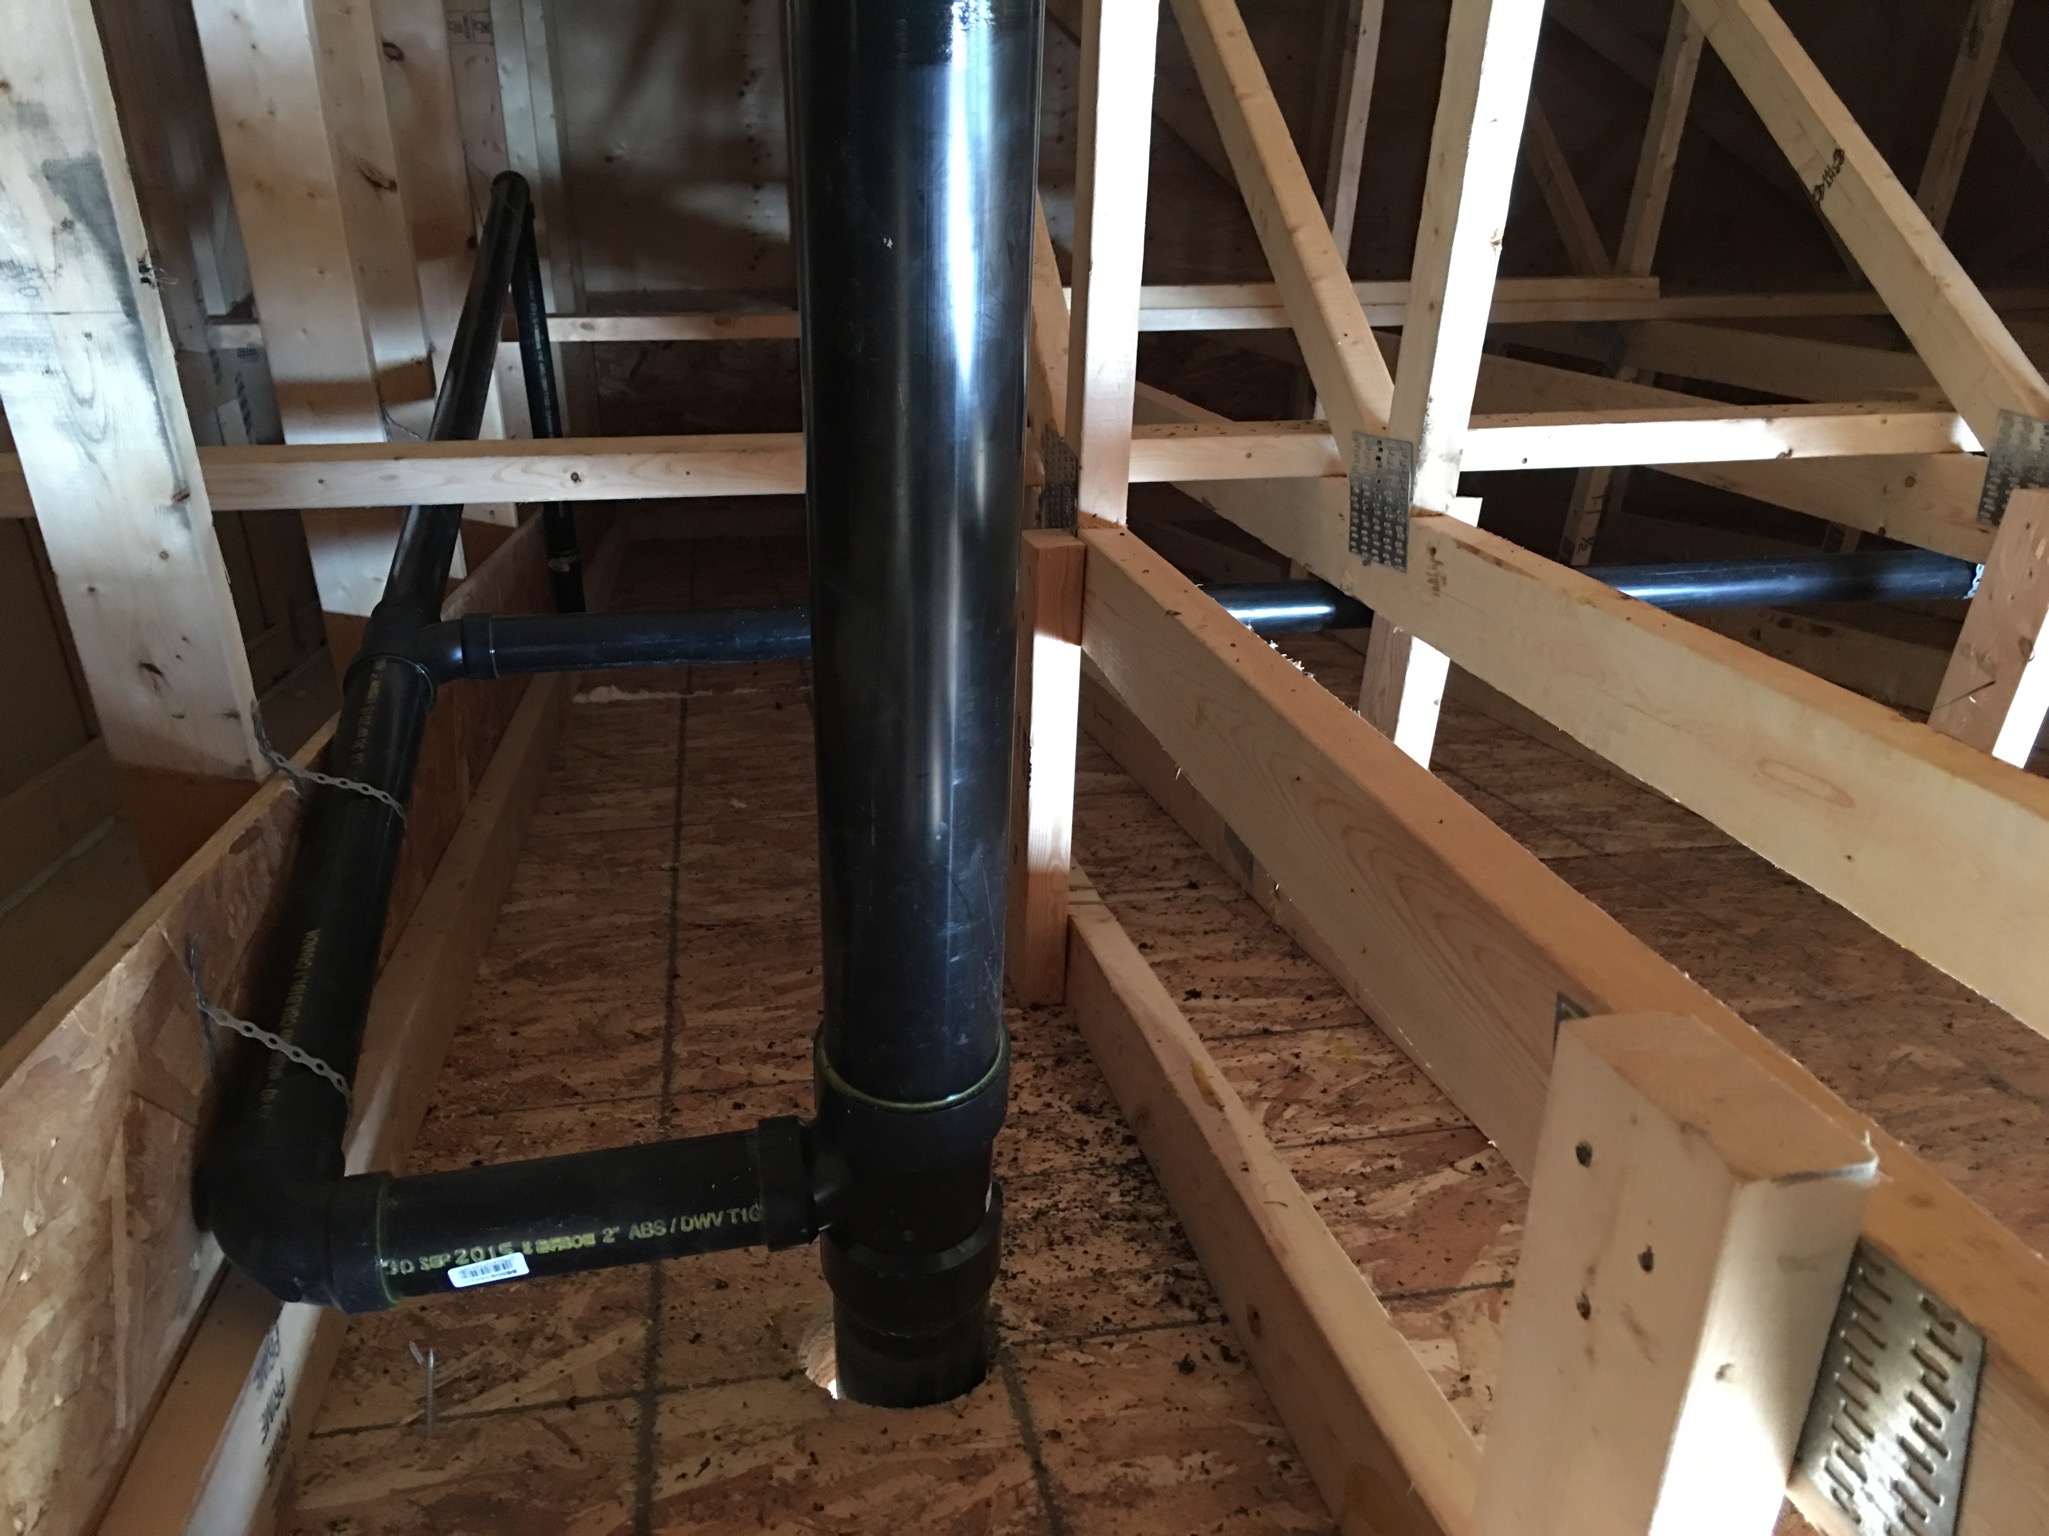
Plumbing vents through the roof (pre-insulation)
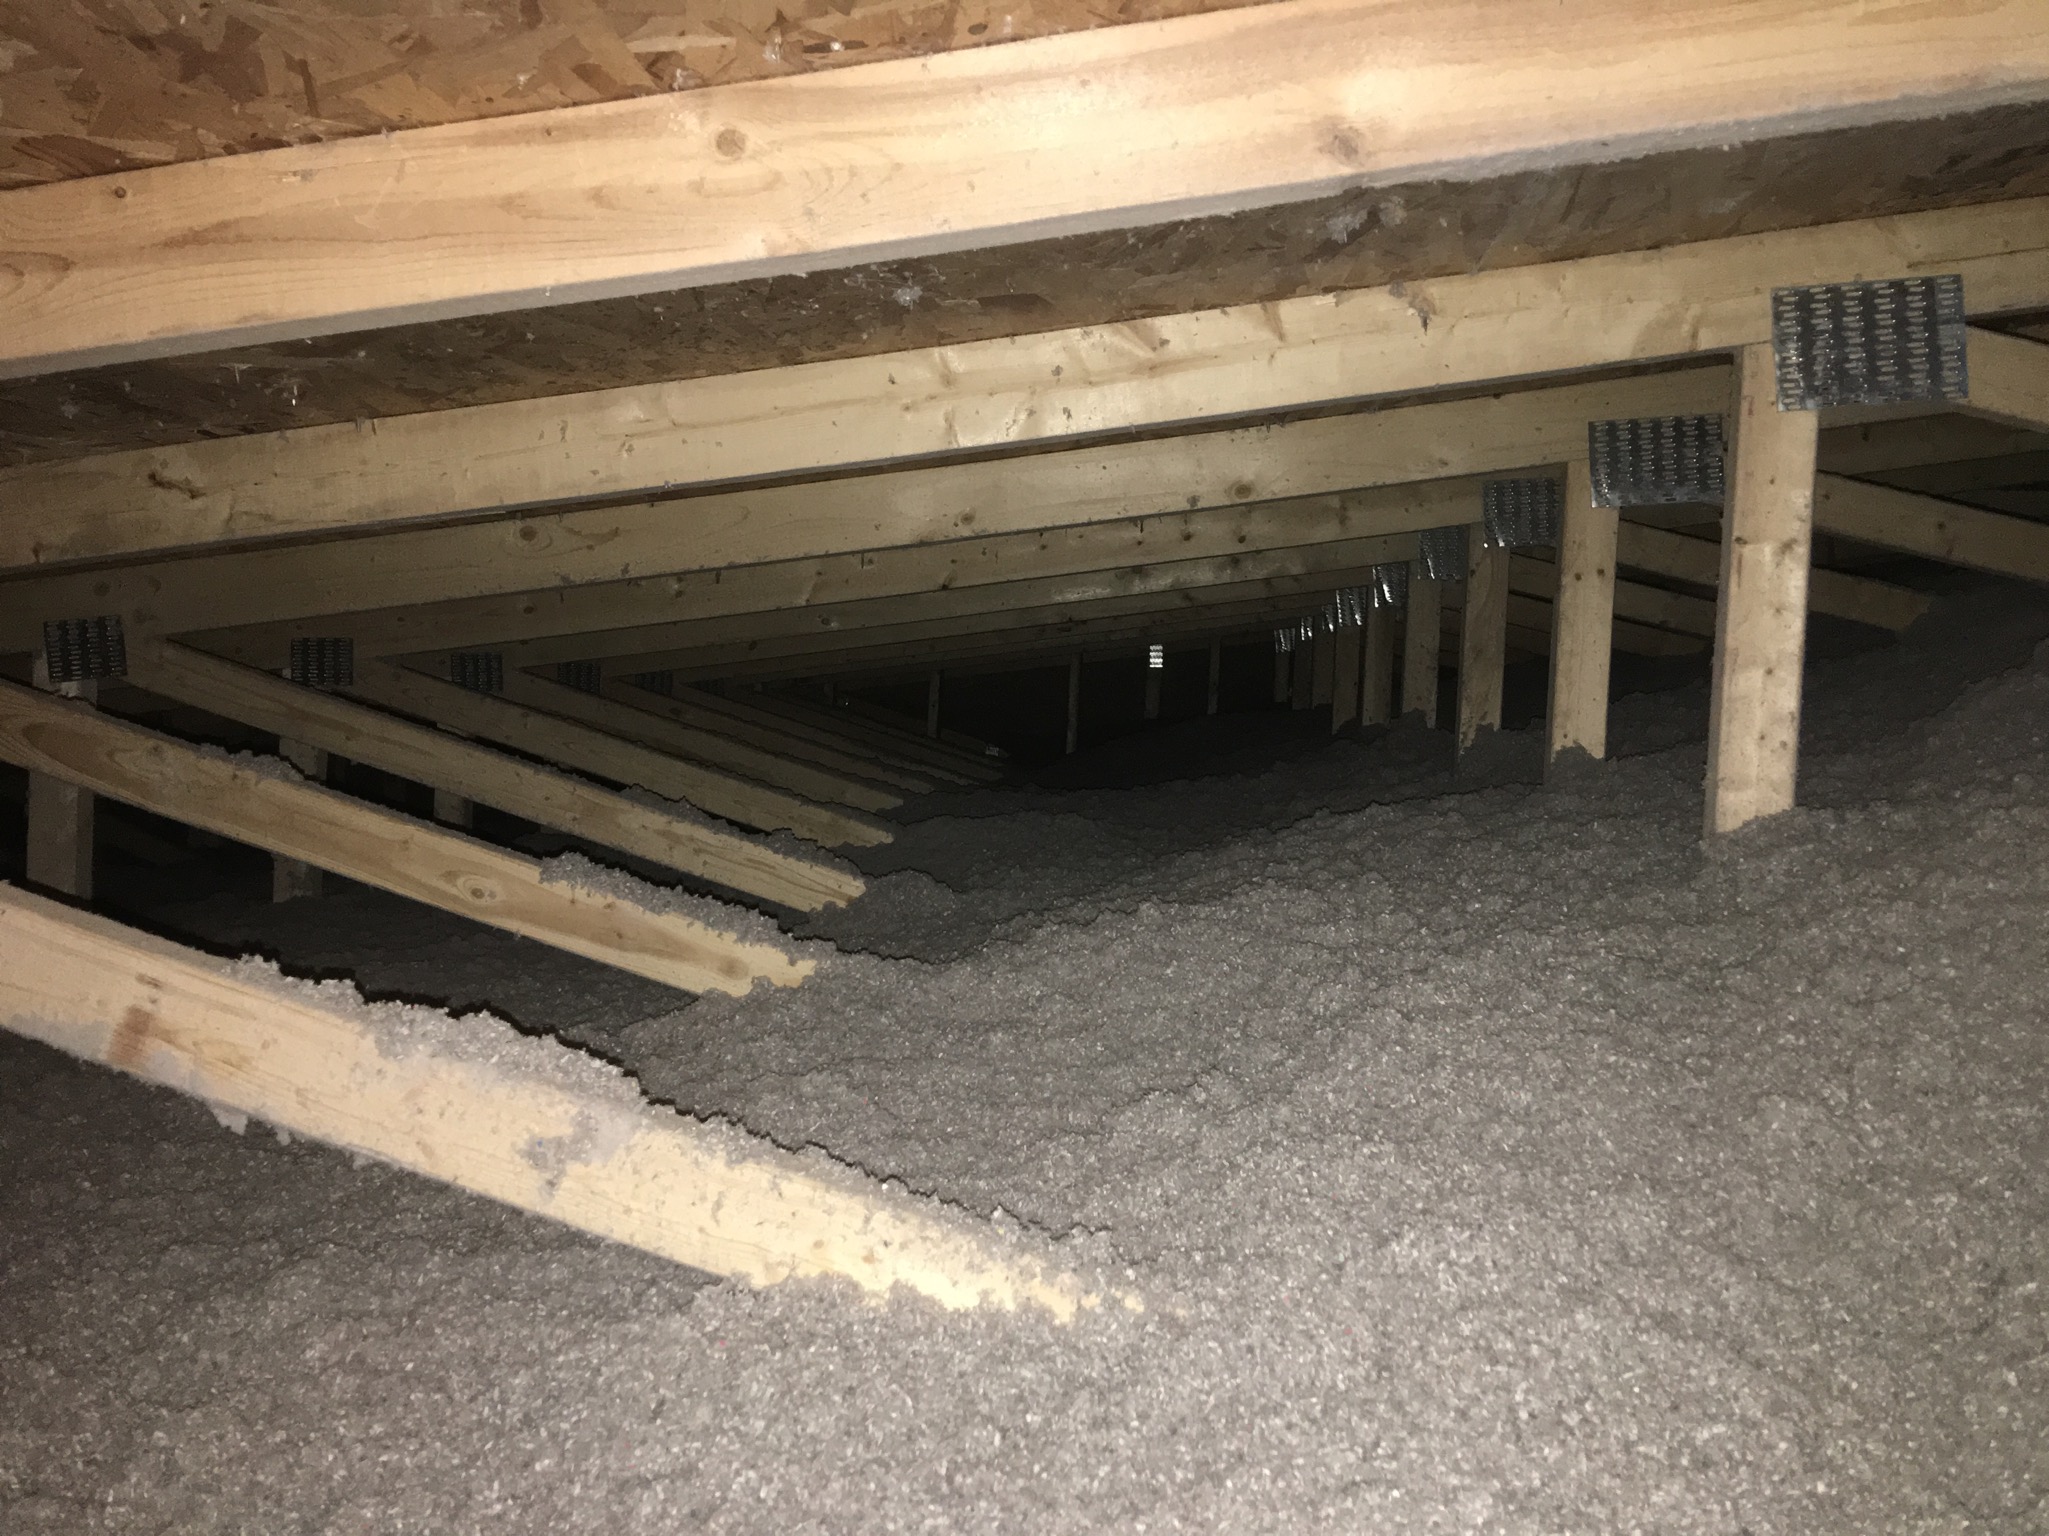
Attic insulation (blown-in cellulose)